Vista de Lectura

Hay nuevos artículos disponibles. Pincha para refrescar la página.

Cheap Sensor Changes Personality

If you want to add humidity and temperature sensors to your home automation sensor, you can — like [Maker’s Fun Duck] did — buy some generic ones for about a buck. For a dollar, you get a little square LCD with sensors and a button. You even get the battery. Can you reprogram the firmware to bend it to your will? As [Duck] shows in the video, you can.

The device advertises some custom BLE services, but [Duck] didn’t want to use the vendor’s phone app, so he cracked the case open. Inside was a microcontroller with Bluetooth, an LCD driver, a sensor IC, and very little else.

The processor is an ARM Cortex M0, a PHY6222 with very low power consumption. The LCD is a very cheap panel with no drivers onboard. All the drive electronics are on the PCB. The sensor is a CHT8305C which uses I2C.

Luckily, the PHY6222 has a publically available SDK with English documentation. The PCB has two sets of UART pads and it is possible to flash the chip via one of the UARTs.

Eventually, [Duck] put a custom firmware on the box, but we were intrigued by the idea that for a buck you could get a little low-power ARM module with an LCD and a sensor. It seems like you could do more with this, although we are sure the LCD is not very general purpose, surely this little box could act as a panel meter, a countdown timer, or lots of other things with some custom firmware.

These are, of course, knock offs of the slightly more expensive Xiaomi sensors, and those are flashable, too. We aren’t sure how accurate either sensor is, but humidity measurement is a complex topic.
Component Tester Teardown

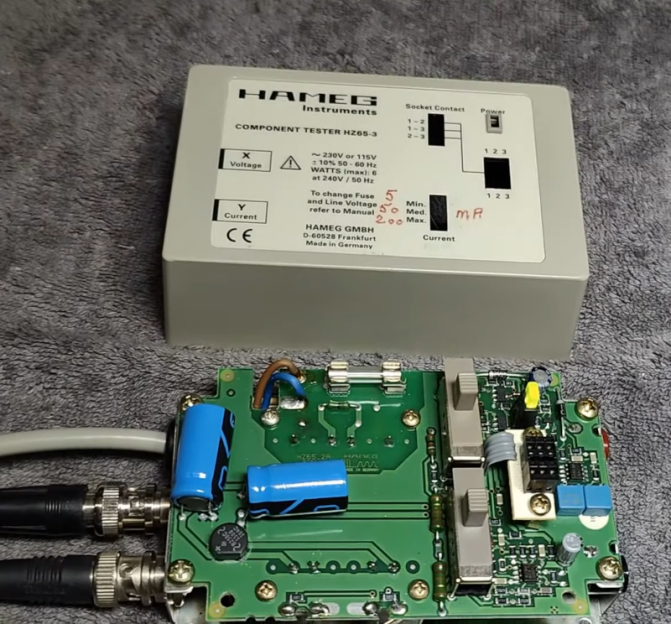
In the modern age, when you hear “component tester” you probably think of one of those cheap microcontroller-based devices that can identify components and provide basic measurements on an LCD screen. However, in the past, these were usually simple circuits that generated an XY scope plot. The trace would allow an experienced operator to identify components and read a few key parameters. [Thomas] tears down an old Hameg device that uses this principle in the video below.

The unit is in a nice enclosure and has a feature that controls the amount of current the unit uses in the excitation signal. It plugs into the wall, and you can connect the component under test with either test leads or a socket. The output, of course, is a pair of BNCs for the scope’s X and Y inputs.

Compared to some homebrew projects that are similar, the PCB inside the device seems more complex. The output of most devices like this uses the line frequency (50 or 60 Hz). This one, however, has its own drive oscillator that operates at a different frequency.

Each type of component has a tell-tale trace on the scope. We found the tunnel diode trace especially interesting. Capacitors are circles, diodes make a definite step shape. There’s a table from the manual near the end of the video.

Most of these devices are much simpler, using a transformer to generate the AC sweep and a simple mechanism to measure the current. That makes them quite easy to build and they are still surprisingly useful.

Inside an Arcade Joystick

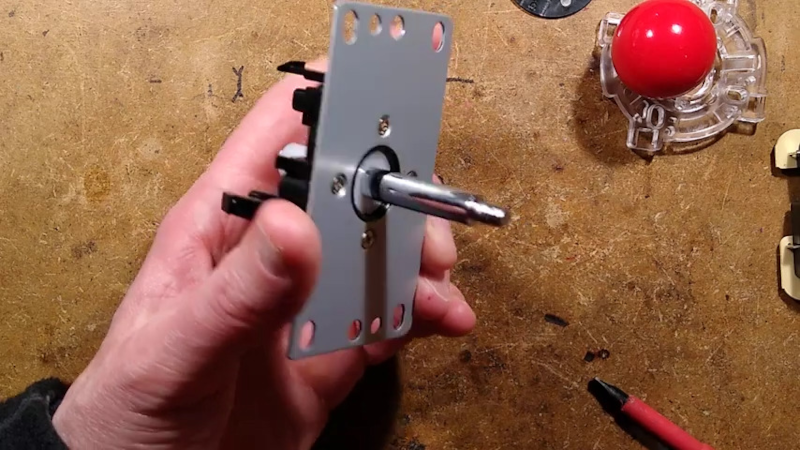
If you ever played an arcade game and wondered what was inside that joystick you were gripping, [Big Clive] can save you some trouble. He picked up a cheap replacement joystick, which, as you might expect, has a bunch of microswitches. However, as you can see in the video below, there are some surprising features that make sense when you think about it.

For one, there are plates you can put on the bottom to limit the joystick’s travel depending on the game. That is, some games only want the stick to move up and down or left and right. The knobs are quite nice, and [Clive] mentions the size and thread of the knob with the idea you could use them in different applications. You can also buy replacement knobs if you don’t want to get the whole assembly.

The mechanics are rugged but straightforward. The circuit board is surprisingly stylish but also simple. Still interesting to see what’s inside one of these, even though the schematic is extremely simple.

If you need an excuse to use one of these, how about an arcade table? If you aren’t a woodworker, grab a 3D printer instead.

The Nixie Tube Multimeter That Almost Made a Comeback

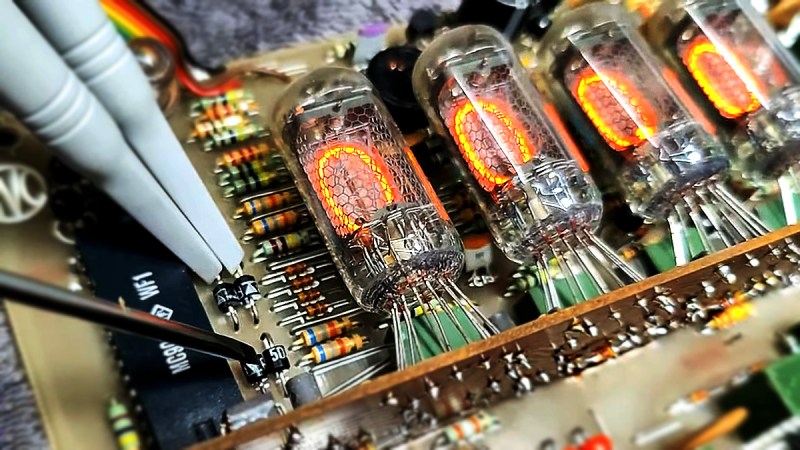
Close up of a DA14 nixie multimeter

In a world of digital monotony, the Avo DA14 digital multimeter, with its vintage J Nixie tube charm, is a refreshing gem. Recently refurbished by [Thomas Scherrer], this multimeter video review is a blend of nostalgia and tech savvy. The DA14 not only has style, but substance — delivering resistance, current, and voltage measurements that make you wonder why more multi-meters didn’t stick with this stylish glow.

As [Thomas] starts by powering up the DA14, we were instantly captivated as the Nixie tubes illuminate in their retro orange. With each twist of the dial, he demonstrates just how intuitive the multimeter is to operate, walking us viewers through each function while giving some extra love to its calibration process—a neat front-panel potentiometer that requires just a touch of finesse to get perfect readings.

But, as with all good tinkering tales, things go downhill when issues with analog inputs and the display pop up. A teardown reveals a beautifully complex inner assembly of transformers, rectifiers, and circuit boards, giving the DA14 its impressive yet fragile structure. When the critical defective display chip is found, hopes for a full repair dim. His story ends without a revival, but if you want to see a similar attempt that did get resurrected – albeit without those nixie digits – take a look at this LCD transplant we covered previously.

Signal Processing Shenanigans: The Createc SC 01 Pocket Oscilloscope

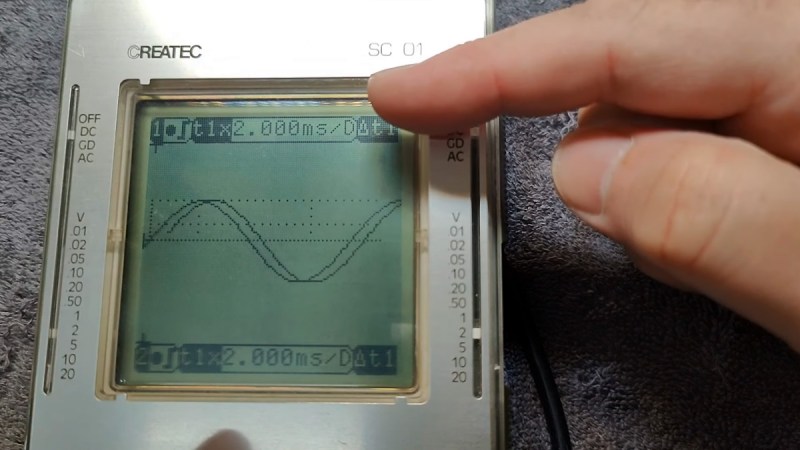
If you’re passionate about signal processing and retro tech, you’ll want to check out the Createc SC 01, a quirky handheld oscilloscope that recently caught the eye of [Thomas Scherrer] from OZ2CPU Teardown. This device, cheekily dubbed a “signal computer,” promises to be both intriguing and, perhaps, frustrating. You can view [Thomas]’ original teardown video here.

This device is packed with buttons and a surprisingly retro aesthetic that can make even the most seasoned hacker feel nostalgic. With a sample rate of 20 MHz and a bandwidth of up to 10 MHz, it’s a digital oscilloscope with a twist. Users may find its setup challenging, thanks to a somewhat convoluted manual that boasts numerous errors. However, beneath the confusion lies the potential for creative exploration: this signal computer can analyse analog signals, perform calculations, and even store data.

Despite its quirks, the SC 01 is sure the experience. Imagine troubleshooting a circuit while grappling with its unpredictable user interface—an adventure in itself for those who like a techy challenge.

The Createc SC 01 is not just another tool; it’s an invitation to embrace the imperfections of vintage tech. If you enjoy the hands-on learning process and don’t shy away from a few hiccups, this device might be something you’ll enjoy. Hackaday featured an article on similar devices last year. Check out the full teardown video to see this fancy but quirky pocket oscilloscope in action.

Heathkit Signal Generator Gets an Update

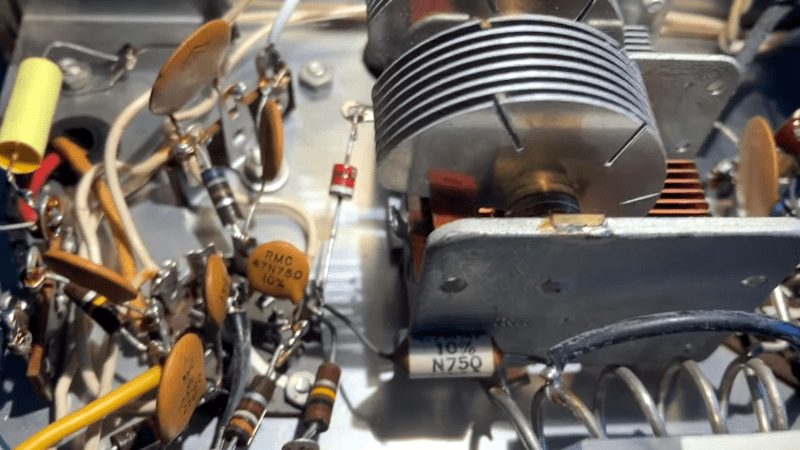
[DTSS_Smudge] correctly intuits that if you are interested in an old Heathkit signal generator, you probably already know how to solder. So, in a recent video, he focused on the components he decided to update for safety and other reasons. Meanwhile, we get treated to a nice teardown of this iconic piece of test gear.

If you didn’t grow up in the 1960s, it seems strange that the device has a polarized line cord with one end connected to the chassis. But that used to be quite common, just like kids didn’t wear helmets on bikes in those days.

A lot of TVs were “hot chassis” back then, too. We were always taught to touch the chassis with the back of your hand first. That way, if you get a shock, the associated muscle contraction will pull your hand away from the electricity. Touching it normally will make you grip the offending chassis hard, and you probably won’t be able to let go until someone kindly pulls the plug or a fuse blows.

These signal generators were very common back in the day. A lot of Heathkit gear was very serviceable and more affordable than the commercial alternatives. In 1970, these cost about $32 as a kit or $60 already built. While $32 doesn’t sound like much, it is equivalent to $260 today, so not an impulse buy.

Some of the parts are simply irreplaceable. The variable capacitor would be tough to source since it is a special type. The coils would also be tough to find replacements, although you might have luck rewinding them if it were necessary.

We are spoiled today with so many cheap quality instruments available. However, there was something satisfying about building your own gear and it certainly helped if you ever had to fix it.

There was so much Heathkit gear around that even though they’ve been gone for years, you still see quite a few units in use. Not all of their gear had tubes, but some of our favorite ones did.

❌