Vista de Lectura

Hay nuevos artículos disponibles. Pincha para refrescar la página.

Homebrew pH Meter Uses Antimony Electrode
Understanding the nature of pH has bedeviled beginning (and not-so-beginning) chemistry students for nearly as long as chemistry has had students. It all seems so arbitrary, being the base-10 log of the inverse of hydrogen ion concentration and with a measurement range of 0 to 14. Add to that the electrochemical reactions needed to measure pH electronically, and it’s enough to make your head spin.

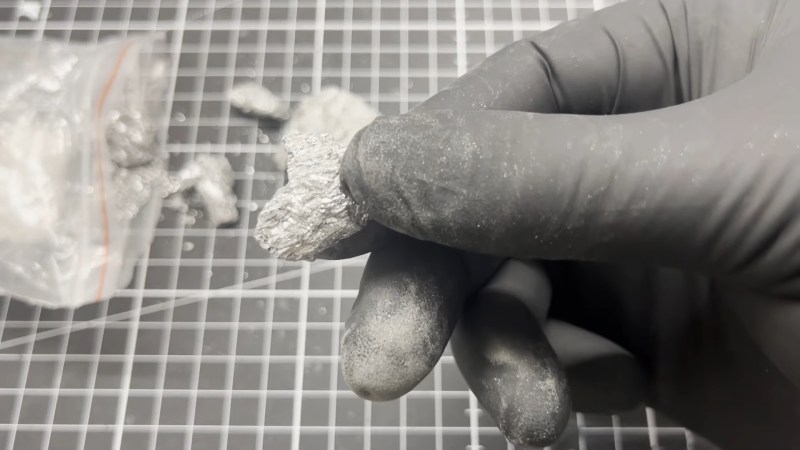
Difficulties aside, [Markus Bindhammer] decided to tackle the topic and came up with this interesting digital pH meter as a result. Measuring pH electronically is all about the electrode, or rather a pair of electrodes, one of which is a reference electrode. The potential difference between the electrodes when dipped into the solution under test correlates to the pH of the solution. [Markus] created his electrode by drawing molten antimony into a length of borosilicate glass tubing containing a solid copper wire as a terminal. The reference electrode was made from another piece of glass tubing, also with a copper terminal but filled with a saturated solution of copper(II) sulfate and plugged with a wooden skewer soaked in potassium nitrate.

In theory, this electrode system should result in a linear correlation between the pH of the test solution and the potential difference between the electrodes, easily measured with a multimeter. [Marb]’s results were a little different, though, leading him to use a microcontroller to scale the electrode output and display the pH on an OLED.

The relaxing video below shows the build process and more detail on the electrochemistry involved. It might be worth getting your head around this, since liquid metal batteries based on antimony are becoming a thing.
Desert Island Acetylene from Seashells and Driftwood

[MacGyver] would be proud of [Hyperspace Pirate]’s rough and ready method of producing acetylene gas from seashells and driftwood.

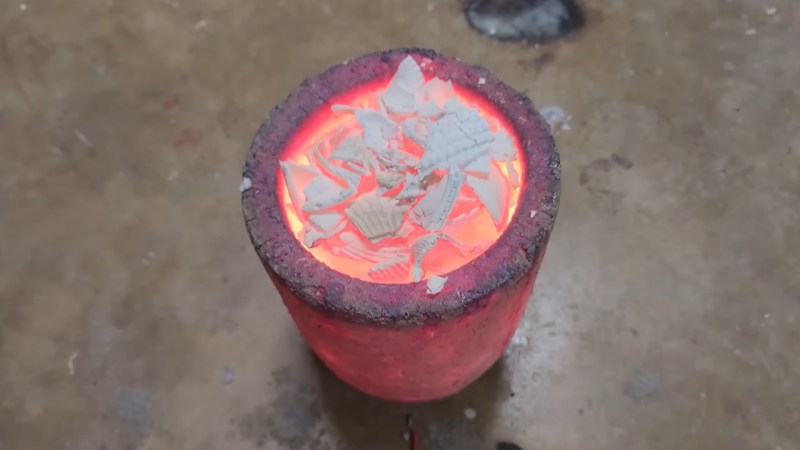
Acetylene, made by decomposing calcium carbide with water, is a vitally important industrial gas. Not only as a precursor in many chemical processes, but also as the fuel for the famous “blue wrench,” a tool without which auto mechanics working in the Rust Belt would be reduced to tears. To avoid this, [Hyperspace Pirate] started by beachcombing for the raw materials: shells to make calcium oxide and wood to make charcoal. Charcoal is pretty easy; you just cook chunks of wood in a reducing environment to drive off everything but the carbon. Making calcium oxide from the calcium carbonate in the shells isn’t much harder, with ground seashells heated in a propane-fired furnace to release carbon dioxide.

With the raw ingredients in hand, things get a little tricky. Making calcium carbide requires a lot of heat, far more than a simple propane burner can provide. [Hyperspace Pirate] decided to go with an electric arc furnace, to which end he cannibalized a 120 V to 240 V step-up converter for its toroidal transformer, which with a few extra windings provided the needed current to run an arc through carbon electrodes. This generated the needed heat, and then some, as the ceramic firebrick he was using to contain the inferno melted. After rewinding the melted secondary windings on his makeshift transformer and switching to a stainless steel crucible, he was able to make enough calcium carbide to generate an impressive amount of acetylene. The video below documents the process and the sooty results, as well as details a little of the excitement that metal acetylides offer.

For more about acetylene and its many uses, [This Old Tony] has you covered.

A Tiny Chemistry Lab

While advances in modern technology have allowed average people access to tremendous computing power as well as novel tools like 3D printers and laser cutters for a bare minimum cost, around here we tend to overlook some of the areas that have taken advantage of these trends as well. Specifically in the area of chemistry, the accessibility of these things have opened up a wide range of possibilities for those immersed in this world, and [Marb’s Lab] shows us how to build a glucose-detection lab in an incredibly small form factor.

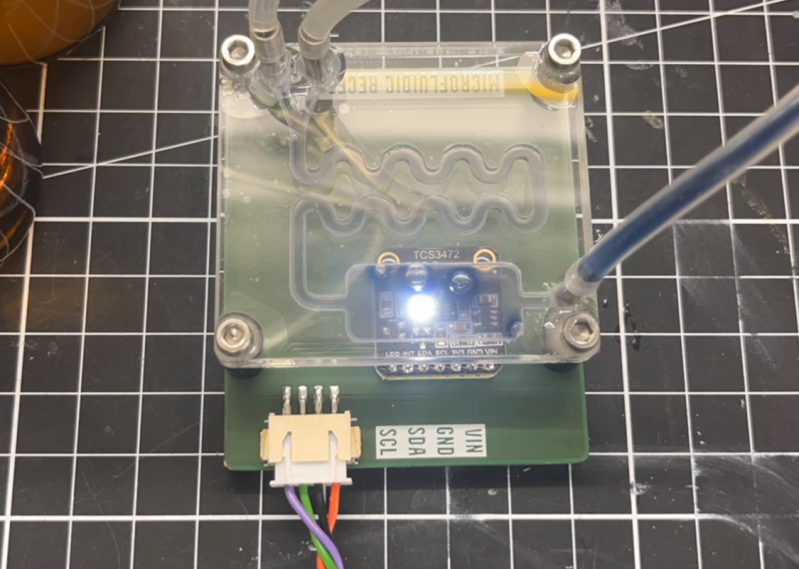
The key to the build is a set of three laser-cut acrylic sheets, which when sandwiched together provide a path for the fluid to flow as well as a chamber that will be monitored by electronic optical sensors. The fluid is pumped through the circuit by a custom-built syringe pump driven by a linear actuator, and when the chamber is filled the reaction can begin. In this case, if the fluid contains glucose it will turn blue, which is detected by the microcontroller’s sensors. The color value is then displayed on a small screen mounted to the PCB, allowing the experimenter to take quick readings.

Chemistry labs like this aren’t limited to one specific reaction, though. The acrylic plates are straightforward to laser cut, so other forms can be made quickly. [Marb’s Lab] also made the syringe pump a standalone system, so it can be quickly moved or duplicated for use in other experiments as well. If you want to take your chemistry lab to the extreme, you can even build your own mass spectrometer.

❌