Vista de Lectura

Hay nuevos artículos disponibles. Pincha para refrescar la página.

Landing Soon: This Beautiful Weather Display
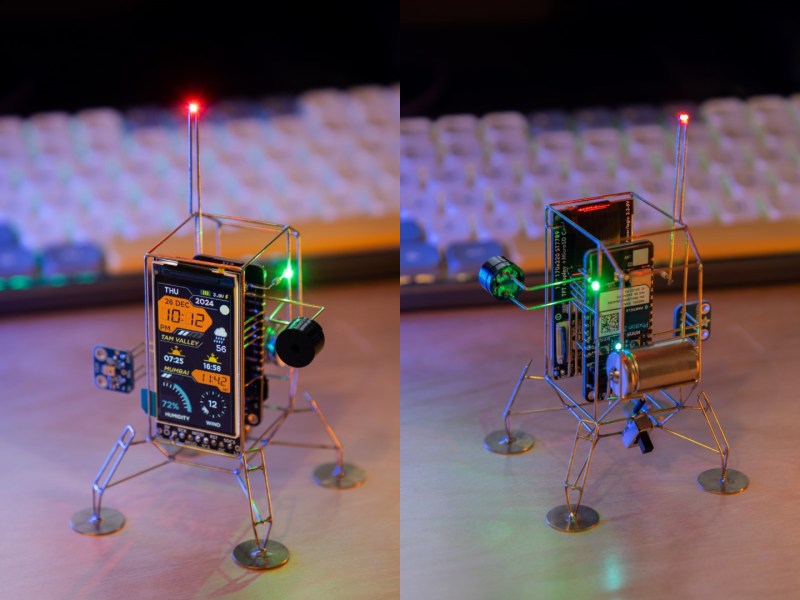
Front and rear views of a lander circuit sculpture that retrieves weather data and displays it on a screen.

All wiring is beautiful, except when it isn’t. But is there anything more lovely to behold than circuit sculpture? Once again, [Mohit Bhoite] has made this process look easy like Sunday morning. This time, he’s created a weather display in the form of a lander.
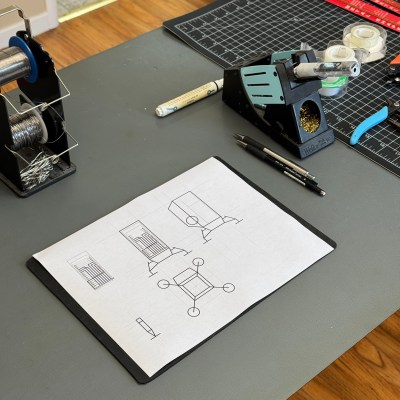
Drawings that will guide wire-bending for a circuit-sculpture, lunar-lander weather info center.This lander runs on the Particle Photon 2, which connects over Wi-Fi and retrieves the weather forecast for the day, along with sunrise and sunset times and wind conditions. Everything is beautifully displayed on a vertically-oriented Adafruit 170×320 TFT screen.

There’s also a pulse-density microphone (PDM) breakout board and a buzzer, and the build is capped off with a red 0805 LED. We’re not sure what the feet are made of, but they sure make this lander cute (and accurate).

All the project logs are picture-rich, which is really the most we could ask for when trying to imitate this level of greatness. This is apparently an ongoing project, and we’re excited for the end result, although it looks fairly complete from here.

Do you want to bend it like Bhoite? Then be sure to check out his Hackaday Supercon talk on the subject.
Time Management for Toddlers

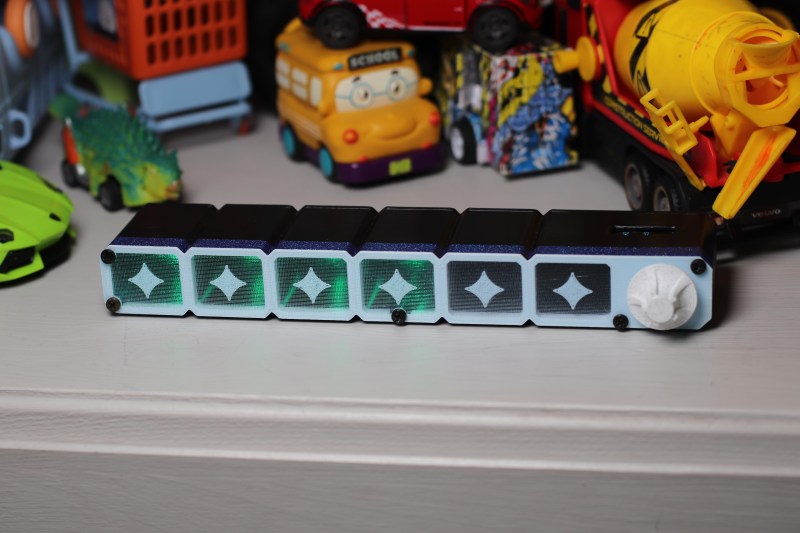
A visual timer for toddlers that uses LEDs that go out.

It’s really never too early (or too late) to learn time management. All joking aside, carefully managing one’s time can result in some really wondrous achievements. So it’s best to learn early, when most of your time is spent generally having fun.

Let’s say you’ve just heard you have five minutes left to play, but what does that mean if you’re three years old? Not much, unless you have some visual cues to go by. That’s the idea behind [Julius Curt]’s visual timer for toddlers.

This lovely reverse progress bar uses a Wemos D1 mini to control a strip of six WS2812B LEDs at 30 LEDs/meter density. There’s a small OLED display for literate users, and the whole thing is childproof. [Julius] challenged himself to do this entire project in one day, and ended up finishing it in a little over eight hours total, including time to design the way cool knob. Be sure to check out the build video below.

If you struggle with managing your time, check out our own [Arya Voronova]’s personal account.

Personal Traffic Light Stops Them In Their Tracks

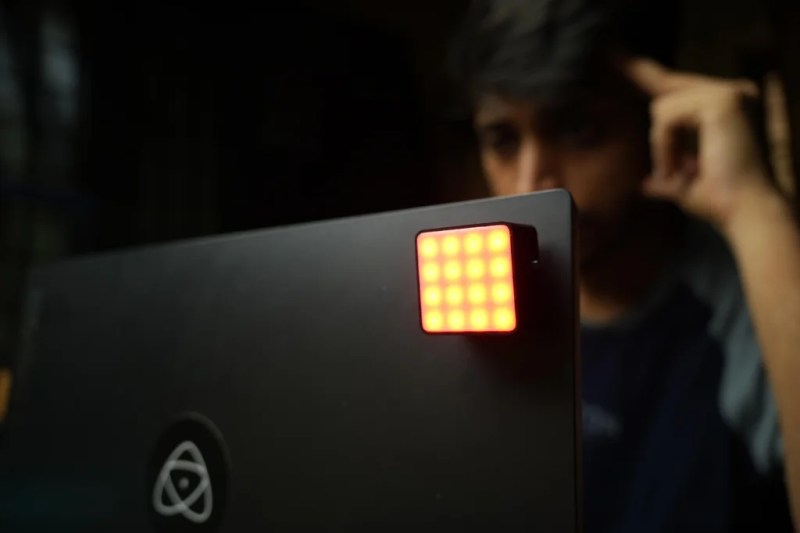
A small mood/busy indicator attached to a laptop.

Working from home can be pretty cool, but if you’re not the only one in the house trying to do it, the whole situation can feel like you’re right back in the office with all those walking, talking distractions. Except they’re in pajamas instead of business casual.

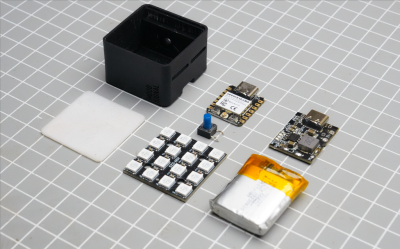
The parts needed to build this mood indicator.So, what’s the answer? Many times it’s not practical to stop what you’re doing, especially just to communicate that you’re busy. We suppose you could glare at them, put up your hand, or even give a dismissive wave, but a better solution might be this mood signal built by [gokux].

Through a simple web app, you can be red to indicate that you’re super busy, yellow to mean busy-ish, and green for let’s gossip about the cats.

This mood indicator is built on the Seeed Xiao ESP32-C3 and shows the given mood indicator on a small matrix of sixteen WS2812B LEDs. It’s powered by a 600 mAh, 3.7 V battery and a small push button switch. As usual, [gokux] has grade-A instructions for building your own version of this slick solution.

Would you like something more tactile and low-tech? Check out our own [Bob Baddeley]’s free/busy indicator from the lockdown days.

Flashy Paper Christmas Tree Does It With a 555

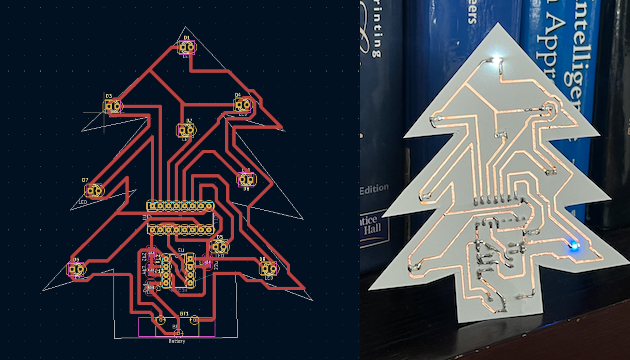
Left: the traces of a flashy paper Christmas tree. Right: the finished tree on cardstock.

‘Tis the season for holiday hacks, and [Ben Emmett] is here to remind us that we don’t necessarily need a fancy microcontroller in order to make flashy fun things happen.

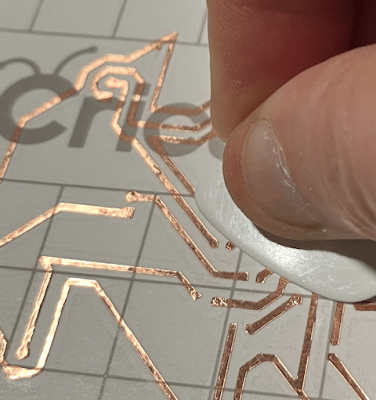
Smoothing down the copper traces with a guitar pick.

Take this Christmas tree for example, which uses a 555 timer and a CB4017 decade counter in order to drive some blinking LEDs. The ICs are through-hole, making the circuit fairly accessible to new players, but there are a few SMD components that need soldering as well. (More on that later.)

Here, the 555 acts like a clock and drives a square wave. Using the clock as input, the decade counter toggles the output pins one after the other, driving the LEDs to blink in turn. Since there are only eight lights, there is a pause in the light-up pattern, but that could be fixed by wiring decade counter output #9 to the reset pin.

Although function was the main focus circuit-wise, [Ben] managed to lay the traces in the shape of a Christmas tree, which looks great. Having done a similar project in the past, he discovered that the craft cutting machine prefers thick traces and wider spaces between them. This is largely why [Ben] chose to use through-hole ICs.

After laying everything out in KiCad, [Ben] exported the copper layer image for use on the cutting machine. Once it was all cut out, he put it on transfer tape to weed out the extra copper, and get the traces onto cardstock, the final substrate.

This is such a fun project, and we love that the CR2032 that powers it also acts as the stand in its vertical holder. Hit up GitHub if you want to make one for yourself. Want something even more 3D? Check out this hollow tree we saw a few years ago.

Updated Mouse Ring Does It With a Joystick

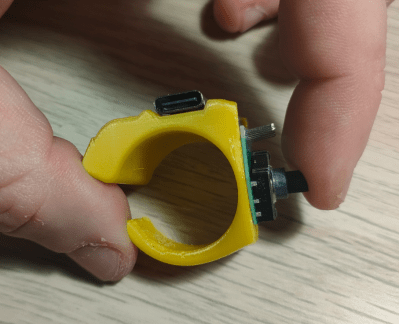
A Bluetooth mouse in ring form.

Have you ever wished for easy mouse controls to go along with your VR headset experience? Or maybe you just want a cooler way to mouse in general. In any case, look no further than [rafgaj78]’s Bluetooth Mouse Ring project.

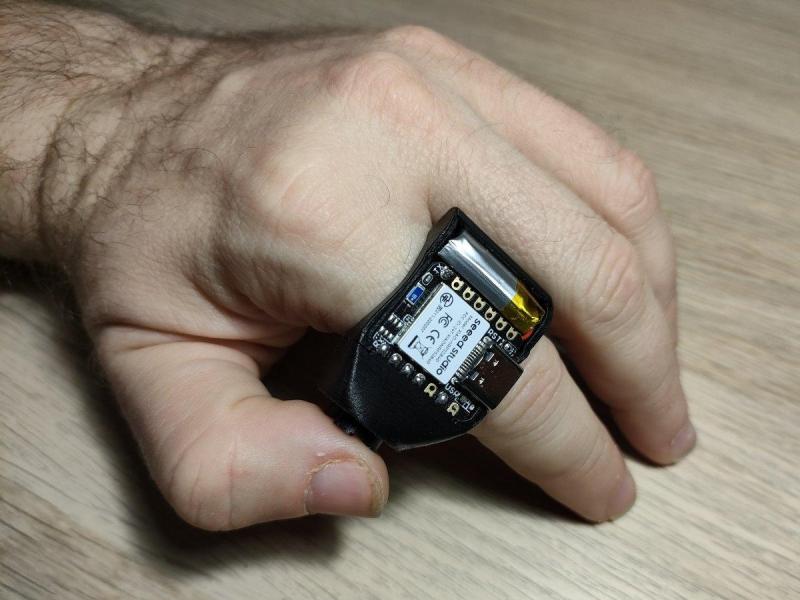
Side view of a Bluetooth mouse in ring form.This is version two, which of course comes with several improvements over version one. The biggest change is from tactile buttons to a joystick input. [rafgaj78] also did away with the power switch, using deep-sleep mode instead. Version two is easier to assemble and offers improved ergonomics, as well as a range of ring sizes.

Like the first version, this ring runs on a Seeed Xiao nRF52840 and is programmed in CircuitPython. There are two modes to choose from. In one mode, the joystick does left and right mouse click and wheel up and down, while the push action recovers the micro from deep sleep. In the other mode, the joystick axis is a mouse pointer mover, and you push down to left click.

We really like this sleek design, and [rafgaj78] has great instructions if you want to build your own. This isn’t the first cool mouse ring we’ve seen, and it certainly won’t be the last.

Chocolate-Coating Machine Mk. 2: the Merry-Go-Round

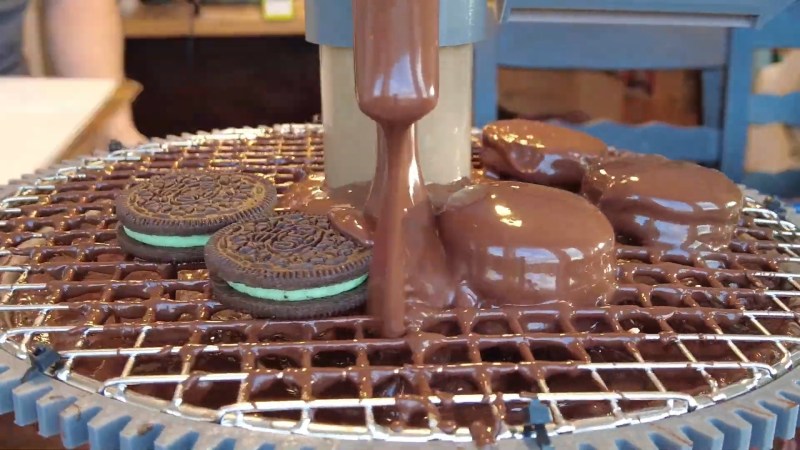
A chocolate coating machine works in the round to enrobe mint Oreos.

This holiday season, [Chaz] wanted to continue his family’s tradition of enrobing a little bit of everything in dark chocolate, and built an improved, rotating chocolate-coating machine.

You may remember last year’s offering, aka the conveyor belt version. Although that one worked, too much chocolate was ultimately lost to the surface of the kitchen table. [Chaz] once again started with a standard chocolate fountain and bought a round wire rack that fits the circumference of the bowl at the bottom. He snipped a hole in the center large enough to accommodate the business part of the fountain and printed a collar with holes that he cleverly zip-tied to the rack.

[Chaz] also printed a large gear to go around the bowl, a small gear to attach to a six RPM motor, a motor mount for the bowl, and an air blade attachment for a portable Ryobi fan. The air blade worked quite well, doing the double duty of distributing the chocolate and thinning out the coating. Plus, it gives things a neat rumpled look on the top.

Want to make some special chocolates this year, but don’t want to build an enrober? Get yourself a diffraction grating and make some rainbow goodies with melted chocolate.

❌