Vista de Lectura

Hay nuevos artículos disponibles. Pincha para refrescar la página.

38C3: Taking Down the Power Grid Over Radio
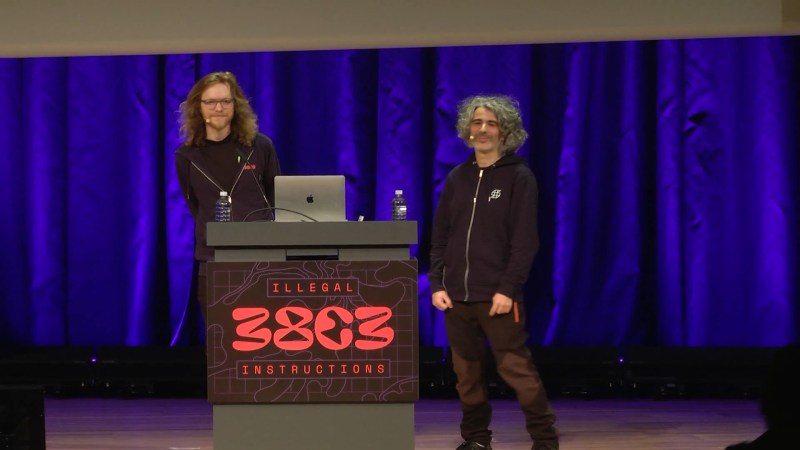
You know how you can fall down a rabbit hole when you start on a project? [Fabian Bräunlein] and [Luca Melette] were looking at a box on a broken streetlamp in Berlin. The box looked like a relay, and it contained a radio. It was a Funkrundsteueremfänger – a radio controlled power controller – made by a company called EFR. It turns out that these boxes are on many streetlamps in many cities, and like you do, they thought about how cool it would be to make lights blink, but on a city-wide basis. Haha, right? So they bought a bunch of these EFR devices on the used market and started hacking.

They did a lot of background digging, and found out that they could talk to the devices, both over their local built-in IR port, but also over radio. Ironically, one of the best sources of help they found in reversing the protocol was in the form of actually pressing F1 in the manufacturer’s configuration application – a program’s help page actually helped someone! They discovered that once they knew some particulars about how a node was addressed, they could turn on and off a device like a street lamp, which they demo with a toy on stage. So far, so cute.

But it turns out that these boxes are present on all sorts of power consumers and producers around central Europe, used to control and counteract regional imbalances to keep the electrical grid stable. Which is to say that with the same setup as they had, maybe multiplied to a network of a thousand transmitters, you could turn off enough power generation, and turn on enough load, to bring the entire power grid down to its knees. Needless to say, this is when they contacted both the manufacturer and the government.

The good news is that there’s a plan to transition to a better system that uses authenticated transmissions, and that plan has been underway since 2017. The bad news is that progress has been very slow, and in some cases stalled out completely. The pair view their work here as providing regulators with some extra incentive to help get this important infrastructure modernization back on the front burner. For instance, it turns out that large power plants shouldn’t be using these devices for control at all, and they estimate that fixing this oversight could take care of most of the threat with the least effort.

National power grids are complicated machines, to say the least, and the impact of a failure can be very serious. Just take a look at what happened in 2003 in the US northeast, for instance. And in the case of real grid failure, getting everything back online isn’t as simple a just turning the switches back on again. As [Fabian] and [Luca] point out here, it’s important to discover and disclose when legacy systems put the grid in potential danger.

38C3: Save Your Satellite with These Three Simple Tricks

BEESAT-1 is a 1U cubesat launched in 2009 by the Technical University of Berlin. Like all good satellites, it has redundant computers onboard, so when the first one failed in 2011, it just switched over to the second. And when the backup failed in 2013, well, the satellite was “dead” — or rather sending back all zeroes. Until [PistonMiner] took a look at it, that is.

Getting the job done required debugging the firmware remotely — like 700 km remotely. Because it was sending back all zeroes, but sending back valid zeroes, that meant there was something wrong either in the data collection or the assembly of the telemetry frames. A quick experiment confirmed that the assembly routine fired off very infrequently, which was a parameter that’s modifiable in SRAM. Setting a shorter assembly time lead to success: valid telemetry frame.

Then comes the job of patching the bird in flight. [PistonMiner] pulled the flash down, and cobbled together a model of the satellite to practice with in the lab. And that’s when they discovered that the satellite doesn’t support software upload to flash, but does allow writing parameter words. The hack was an abuse of the fact that the original code was written in C++. Intercepting the vtables let them run their own commands without the flash read and write conflicting.

Of course, nothing is that easy. Bugs upon bugs, combined with the short communication window, made it even more challenging. And then there was the bizarre bit with the camera firing off after every flash dump because of a missing break in a case statement. But the camera never worked anyway, because the firmware didn’t get finished before launch.

Challenge accepted: [PistonMiner] got it working, and after fifteen years in space, and ten years of being “dead”, BEESAT-1 was taking photos again. What caused the initial problem? NAND flash memory needs to be cleared to zeroes before it’s written, and a bug in the code lead to a long pause between the two, during which a watchdog timeout fired and the satellite reset, blanking the flash.

This talk is absolutely fantastic, but may be of limited practical use unless you have a long-dormant satellite to play around with. We can nearly guarantee that after watching this talk, you will wish that you did. If so, the Orbital Index can help you get started.

38C3: Lawsuits are Temporary; Glory is Forever

One of the blockbuster talks at last year’s Chaos Communications Congress covered how a group of hackers discovered code that allegedly bricked public trains in Poland when they went into service at a competitor’s workshop. This year, the same group is back with tales of success, lawsuits, and appearances in the Polish Parliament. You’re not going to believe this, but it’s hilarious.

The short version of the story is that [Mr. Tick], [q3k], and [Redford] became minor stars in Poland, have caused criminal investigations to begin against the train company, and even made the front page of the New York Times. Newag, the train manufacturer in question has opened several lawsuits against them. The lawsuit alleges the team is infringing on a Newag copyright — by publishing the code that locked the trains, no less! If that’s not enough, Newag goes on to claim that the white hat hackers are defaming the company.

What we found fantastically refreshing was how the three take all of this in stride, as the ridiculous but incredibly inconvenient consequences of daring to tell the truth. Along the way they’ve used their platform to speak out for open-sourcing publicly funded code, and the right to repair — not just for consumers but also for large rail companies. They are truly fighting the good fight here, and it’s inspirational to see that they’re doing so with humor and dignity.

If you missed their initial, more technical, talk last year, go check it out. And if you ever find yourself in their shoes, don’t be afraid to do the right thing. Just get a good lawyer.

38C3: Xobs on Hardware Debuggers

If you just want to use a debugger for your microcontroller project, you buy some hardware device, download the relevant driver software, and fire up GDB. But if you want to make a hardware debugger yourself, you need to understand the various target chips’ debugging protocols, and then you’re deep in the weeds. But never fear, Sean [Xobs] Cross has been working on a hardware debugger and is here to share his learnings about the ARM, RISC-V, and JTAG debugging protocols with us.

He starts off with a list of everything you need the debugger hardware to be able to do: peek and poke memory, read and write to the CPU registers, and control the CPU’s execution state. With that simple list of goals, he then goes through how to do it for each of the target chip families. We especially liked [Xobs]’s treatment of the JTAG state machine, which looks pretty complicated on paper, but in the end, you only need to get it in and out of the shift-dr and shift-ir states.

This is a deep talk for sure, but if you’re ever in the throes of building a microcontroller programmer or debugger, it provides a much-appreciated roadmap to doing so.

And once you’ve got your hardware setup, maybe it’s time to dig into GDB? We’ve got you covered.

38C3: Towards an Open WiFi MAC Stack on ESP32

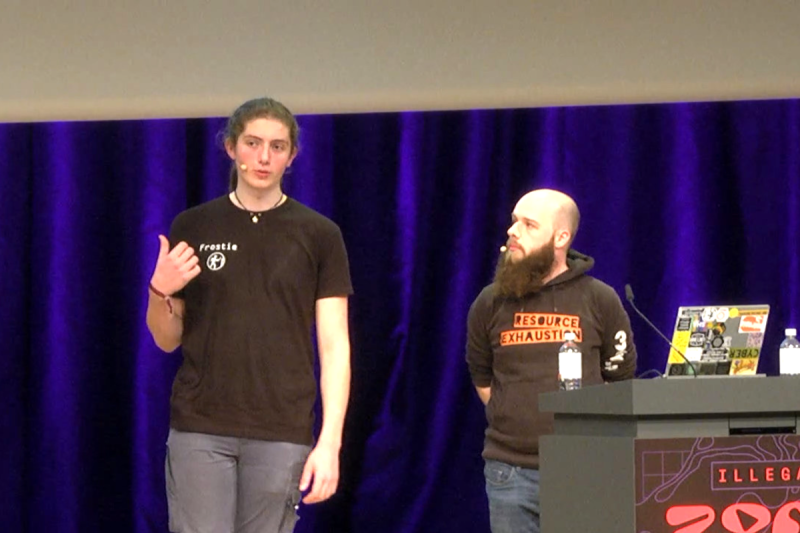
At the 38th Chaos Communications Congress, [Frostie314159] and [Jasper Devreker] gave us a nice update on their project to write an open-source WiFi stack for the ESP32. If you’re interested in the ESP32 or WiFi in general, they’ve also got a nice deep dive into how that all works.

On the ESP32, there’s a radio, demodulator, and a media access controller (MAC) that takes care of the lowest-level, timing-critical bits of the WiFi protocol. The firmware that drives the MAC hardware is a licensed blob, and while the API or this blob is well documented — that’s how we all write software that uses WiFi after all — it’s limited in what it lets us do. If the MAC driver firmware were more flexible, we could do a lot more with the WiFi, from AirDrop clones to custom mesh modes.

The talk starts with [Jasper] detailing how he reverse engineered a lot of Espressif’s MAC firmware. It involved Ghidra, a Faraday cage, and a lucky find of the function names in the blob. [Frostie] then got to work writing the MAC driver that he calls Ferris-on-Air. Right now, it’s limited to normal old station mode, but it’s definite proof that this line of work can bear fruit.

This is clearly work in progress — they’ve only been at this for about a year now — but we’ll be keeping our eyes on it. The promise of the ESP32, and its related family of chips, being useful as a more general purpose WiFi hacking tool is huge.

Taking “Movies” of Light in Flight

This one isn’t clickbait, but it is cheating. [Brian Haidet], the guy behind Alpha Phoenix, has managed to assemble movie footage of a laser beam crossing his garage, using a rig he put together for just a few hundred dollars. How, you ask? Well, for the long version, you’re going to want to watch the video, also embedded below. But we’ll give you the short version here.

Light travels about a foot in a nanosecond. What have you got that measures signals on a nanosecond scale pretty reliably? Of course, it’s your oscilloscope. The rest of [Brian]’s setup includes a laser that can pull off nanosecond pulses, a sensor with a nanosecond-ish rise time, and optics that collect the light over a very small field of view.

He then scans the effective “pinhole” across his garage, emitting a laser pulse and recording the brightness over time on the oscilloscope for each position. Repeating this many thousands of times and putting them all together relative to the beginning of each laser pulse results in a composite movie with the brightness at each location resolved accurately enough to watch the light beam fly. Or to watch different time-slices of thousands of beams fly, but as long as they’re all the same, there’s no real difference.

Of course, this isn’t simple. The laser driver needs to push many amps to get a fast enough rise time, and the only sensor that’s fast enough to not smear the signal is a photomultiplier tube. But persistence pays off, and the results are pretty incredible for something that you could actually do in your garage.

Photomultiplier tubes are pretty damn cool, and can not only detect very short light events, but also very weak ones, down to a single photon. Indeed, they’re cool enough that if you get yourself a few hundred thousand of them and put them in a dark place, you’re on your way to a neutrino detector. 

A Twenty-Segment Display, Artistically

We all know and love the humble seven-segment display, right? And if you want to make characters as well as numbers, you can do an okay job with sixteen segments off the shelf. But if you want something more art-deco, you’ll probably want to roll your own. Or at least, [Ben] did, and you can find his designs up on GitHub.

Taking inspiration from [Posy]’s epic investigation of segmented displays, [Ben] sat down with a sketchpad and created his own 20-segment font that displays numbers and letters with some strange, but frankly lovely, segment shapes. There is no center line, so letters like “T” and numbers like “1” are a little skewed, but we think it’s charming.

We’ve seen about a bazillion takes on the seven-segment idea over the years here. Most recently, we fell in love with this 21-segment beauty, but honestly the original eight(!) segment patent version is charming as well. Anyway, picking a favorite segmented display at Hackaday is like picking your favorite child, if you have a few hundred children. We love them all.

Thanks [Aaron] for the tip!

The Mystery of the Messed-Up Hammond X5

[Filip] got his hands on a sweet old Hammond X5 organ, but it had one crucial problem: only half of the keys worked. Each and every C#, D, D#, E, F, and F# would not play, up and down the keyboard, although the other notes in between sounded just fine.

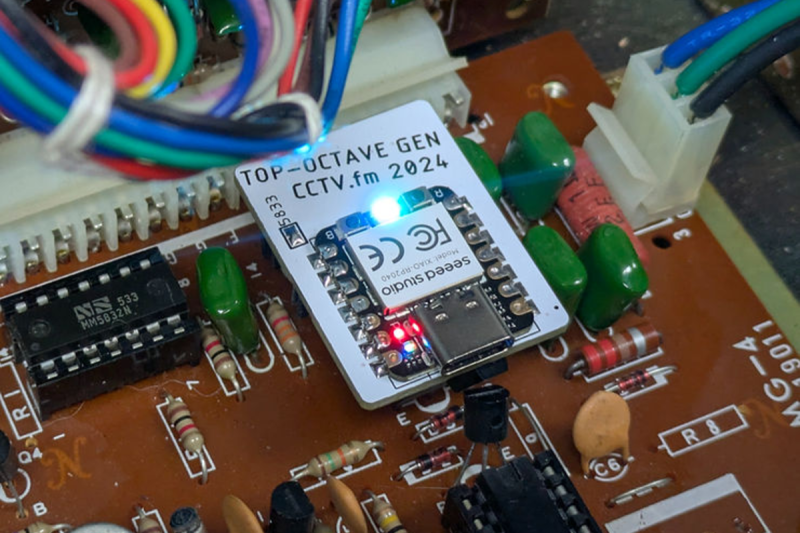
Those of you with an esoteric knowledge of older electric organs will be saying “it’s a busted top-octave generator chip”, and you’re right. One of the TOGs worked, and the other didn’t. [Filip] rolled his own top-octave generator with a Pico, in Python no less, and the old beauty roared to life once more.

But what is a top-octave generator, you may ask? For a brief period of time in the early 70s, there were organs that ran on square waves. Because a musical octave is a doubling or halving of frequency, you can create a pitch for every key on the organ if you simply create one octave’s worth of pitches, and divide them all down using something as simple as a binary counter IC. But nobody makes top-octave chips any more.

Back in 2018, [DC Darsen] wrote in asking us if we knew about any DIY top-octave designs, and we put out an Ask Hackaday to see if you all could make a top-octave generator out of a microcontroller. We got a super-optimized code hack in response, and that’s worth checking out in its own right, but we always had the nagging suspicion that a hardware solution was the best solution.

We love how [Filip]’s design leans heavily on the Pico’s programmable input/output hardware modules to get the job done with essentially zero CPU load, allowing him to write in Python and entirely bypassing the cycle-counting and assembly language trickery. The voltage shifters and the switchable jumpers to swap between different top-octave chip types are a nice touch as well. If you have an organ that needs a top-octave chip in 2024, this is the way we’d do it. (And it sounds fantastic.)

Watch Any Video on Your Game Boy, Via Link Cable

Game Boys have a link cable that lets two of them play together. You know, to battle with a friend’s Pokemon and stuff like that. But who says that it should be limited to transmitting only what Big N wants you to?

[Chromalock] wrote a custom GB program that takes in data over the link cable, and displays it on the screen as video, as fast as it can be sent. Add in a microcontroller, a level shifter, and software on the big computer side, and you can hook up your Game Boy Color as a normal video device and send it anything you want, from a webcam to any program that outputs video.

Well, almost. The biggest limitation is the data link cable, of course. On the older Game Boys, the link cable is apparently only good for 8 kHz, while the Color models can pull a not-quite-blistering 512 kHz. Still, that’s enough for 60 fps in a low-res black and white mode, or a slow, screen-tearing high-res color experience. You pick your poison.

There are gotchas that have to do with the way the GB displays palettes that get left as “to-do” on the software side. There is room for improvement in hardware too. (GB Link looks like SPI to us, and we’d bet you can push the speeds even higher with clever GB-side code.) In short, this is an awesome demo that just invites further hacking.

If you want to know more about the Game Boy to get started, and maybe even if you don’t, you absolutely must watch The Ultimate Game Boy Talk. Trust us on this one.


❌