Vista de Lectura

Hay nuevos artículos disponibles. Pincha para refrescar la página.

Winter-Proof (And Improve) Your Resin 3D Printing

Was your 3D printer working fine over the summer, and now it’s not? With colder temperatures comes an overall surge in print failure reports — particularly with resin-based printers that might reside in outbuildings, basements, or garages. If you think this applies to you, don’t miss [Jan Mrázek]’s tips on improving cold-weather print results. His tips target the main reasons prints fail, helping to make the process a little more resilient overall. [Jan]’s advice is the product of long experience and experimentation, so don’t miss out.

With environmental changes comes the possibility that things change just enough to interfere with layers forming properly. The most beneficial thing overall is to maintain a consistent resin temperature; between 22 and 30 degrees Celsius is optimal. A resin heater is one solution, and there are many DIY options using simple parts. Some of the newer (and more expensive) printers have heaters built in, but most existing hobbyist machines do not.

An extreme case of blooming.

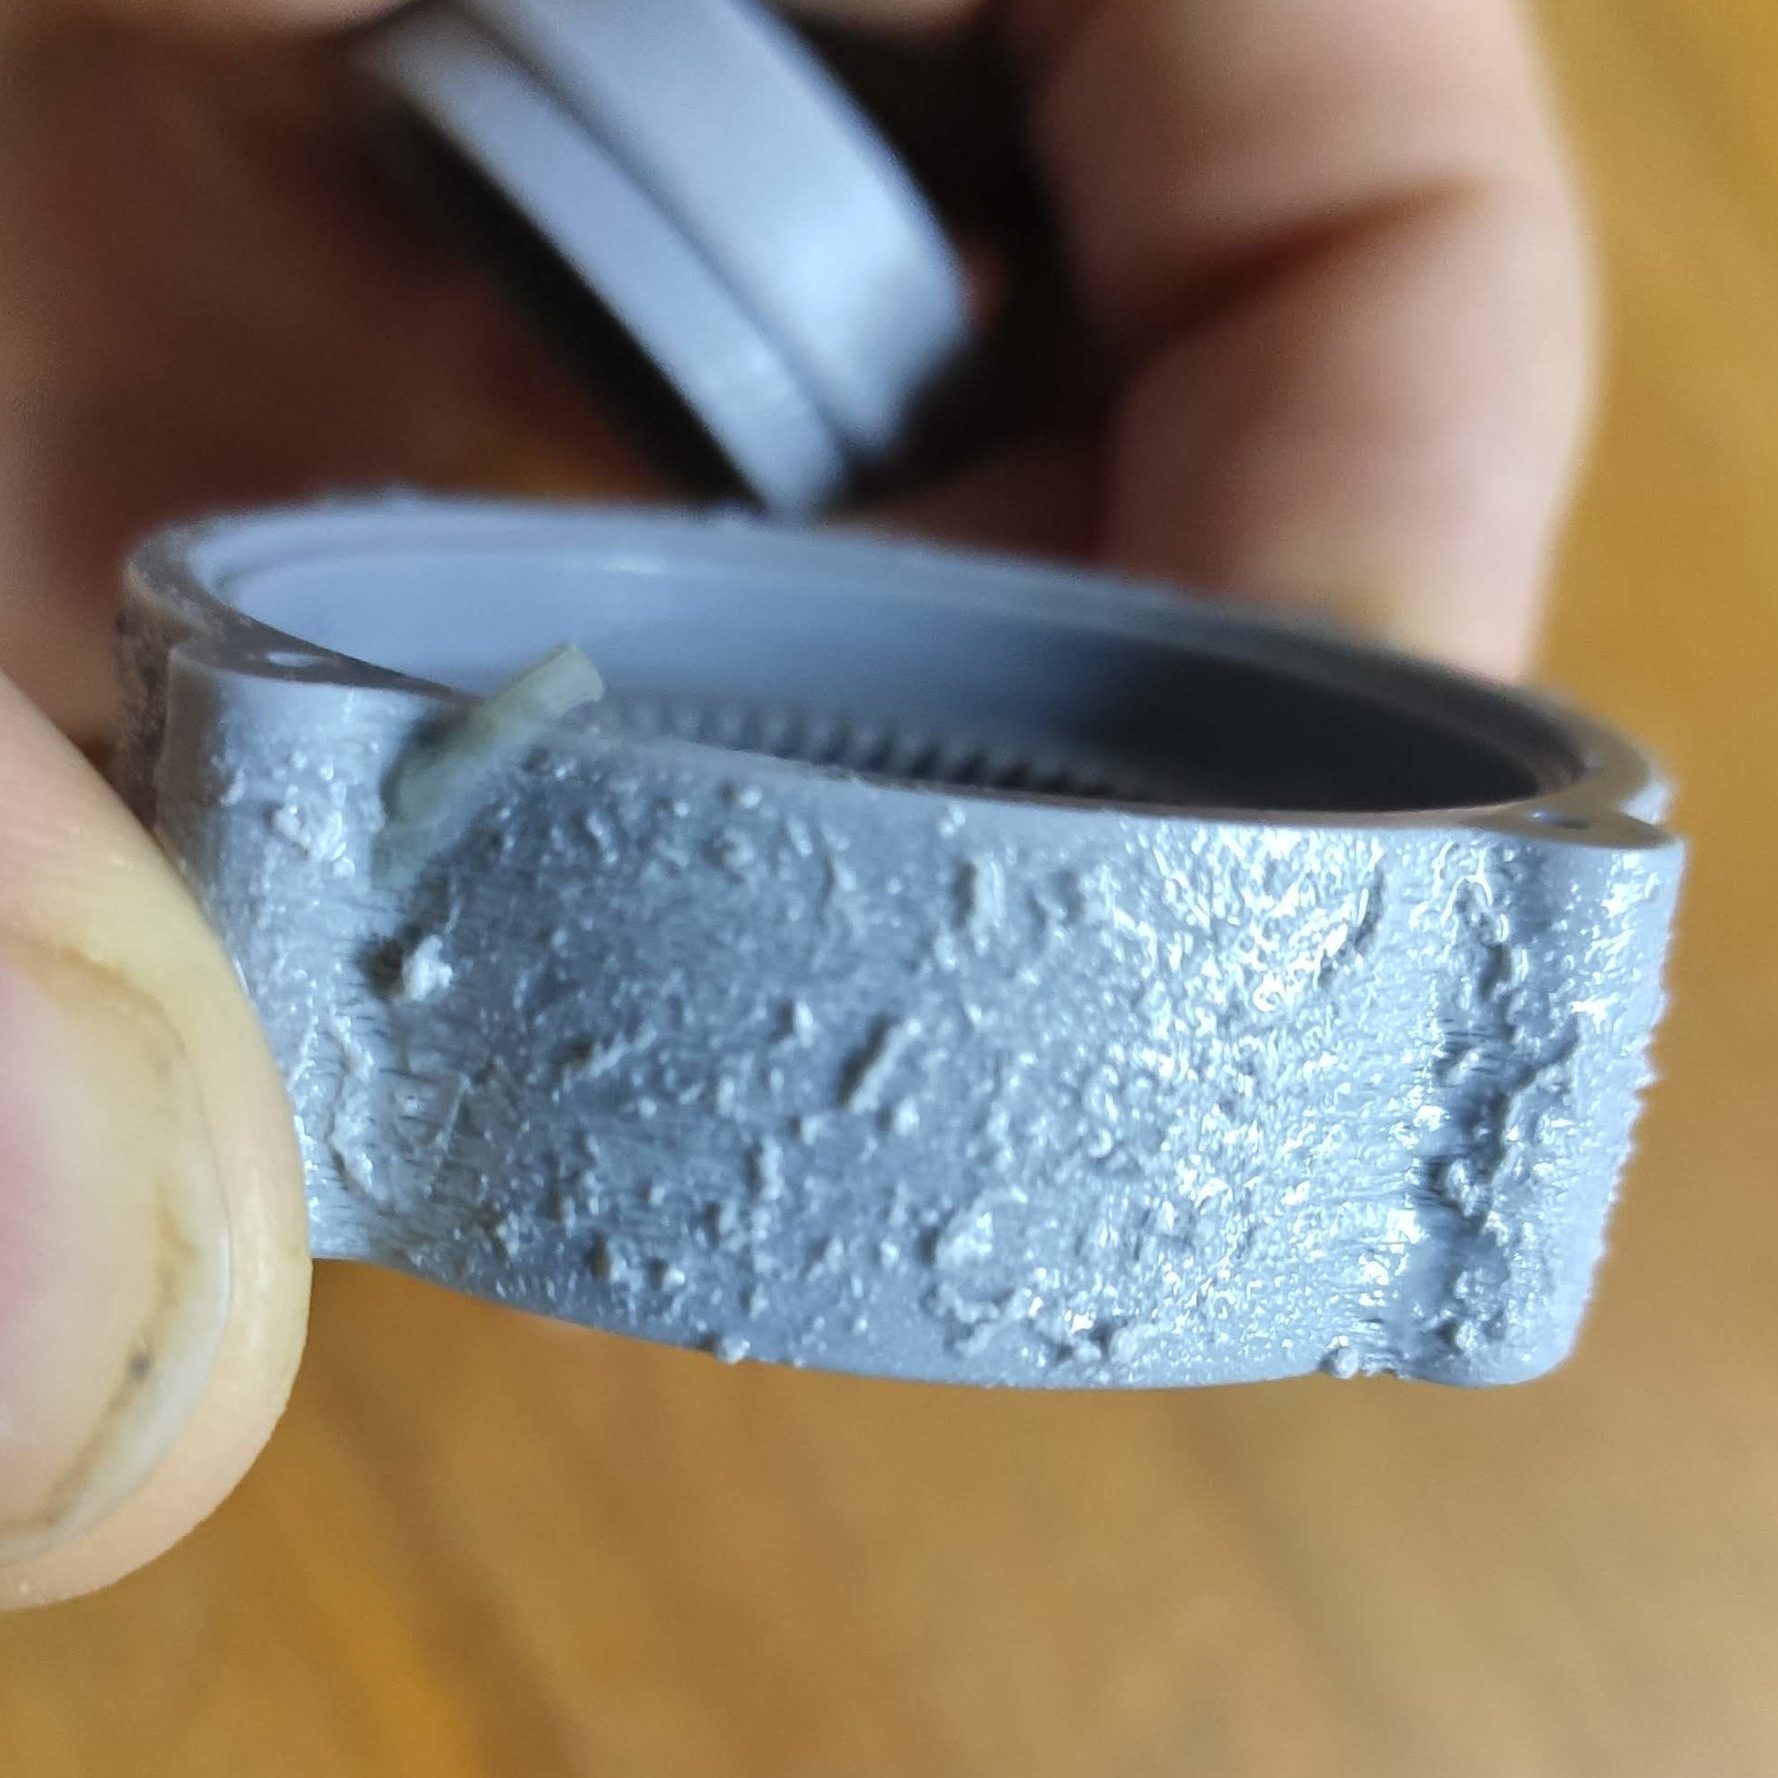
Temperature control isn’t the only thing, either. Layer formation and build plate adhesion can all be improved by adding rest times between layers. Yes, this increases print time. It also allows resin to settle before the next layer, improving adhesion and preventing blooming (a rough texture caused by an imperfect cure.) Since resin flows less readily at lower temperatures, rest times can help improve results. The best setting depends heavily on your particular setup, so [Jan] gives tips on finding optimal rest times.

Most common knowledge and advice from well-meaning communities online focuses on increasing exposure time or blaming the build plate. [Jan] feels that these are ultimately the wrong way to go about addressing failures. Usually, an environmental change (like the arrival of winter) has simply pushed a printer that was not optimized in the first place outside of its narrow comfort zone. A little optimization can set things back on track, making the printer more resilient and reliable overall.

Electric Vehicle Charging Heats Up

As the electric vehicle takeover slowly lumbers along, marginally increasing efficiencies for certain applications while entrenching car-centric urban design even further, there are some knock-on effects that are benefiting people and infrastructure beyond simple transportation. Vehicle-to-grid technology has applications for providing energy from the car back to the grid for things like power outages or grid leveling. But [Technology Connections] is taking this logic one step further. Since a large number of EV owners have charging stations built into their garages, he wondered if these charging stations could be used for other tasks and built an electric heater which can use one for power.

This project uses a level 2 charger, capable of delivering many kilowatts of power to an EV over fairly standard 240V home wiring with a smart controller in between that and the car. Compared to a level 1 charger which can only trickle charge a car on a standard 120V outlet (in the US) or a DC fast charger which can provide a truly tremendous amount of energy in a very short time, these are a happy middle ground. So, while it’s true a homeowner could simply wire up another 240V outlet for this type of space heater or other similar application, this project uses the existing infrastructure of the home to avoid redundancies like that.

Of course this isn’t exactly plug-and-play. Car chargers communicate with vehicles to negotiate power capabilities with each other, so any appliance wanting to use one as a bulk electric supply needs to be able to perform this negotiation. To get the full power available in this case all that’s needed is a resistor connected to one of the signal wires, but this won’t work for all cases and could overload smaller charging stations. For that a more complex signalling method is needed, but since this was more of a proof-of-concept we’ll still call it a success. For those wanting to DIY the charger itself, building one from the ground up is fairly straightforward as well.

Thanks to [Billy] for the tip!

❌