Vista de Lectura

Hay nuevos artículos disponibles. Pincha para refrescar la página.

DIY Handheld is an Emulation Powerhouse

If you’re into handheld gaming, you’ve got a wide array of hardware options to choose from these days that are capable of running everything from console classics to full-fledged PC titles. But that doesn’t mean there aren’t enterprising gamers out there who are still building their own custom handhelds —  like the Retro Lite CM5.

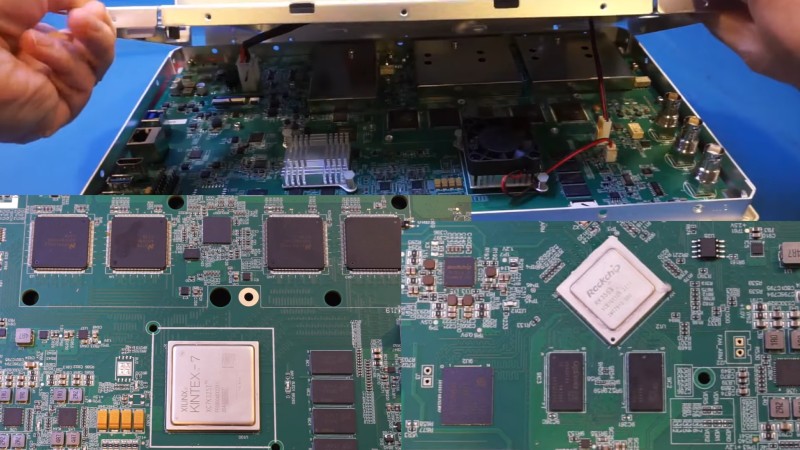
For this project, [StonedEdge], [GinKage], and [notime2d8] set out to create a powerful enough handheld that could emulate games spanning the PlayStation 2, GameCube, and 3DS eras. Using a Radxa Rk3588s compute module as a base, the build navigates the design and construction of things like the carrier board, custom controllers, and the enclosure.

The project’s build log takes the form of a set of forum entries that starts with emulating games on an OrangePi 5 and mapping out things like USB 3.0 support, Power Delivery and management, I2S audio, along with display options amongst other chores. But the project’s GitHub repo is packed with technical details for anyone looking for a more condensed version.

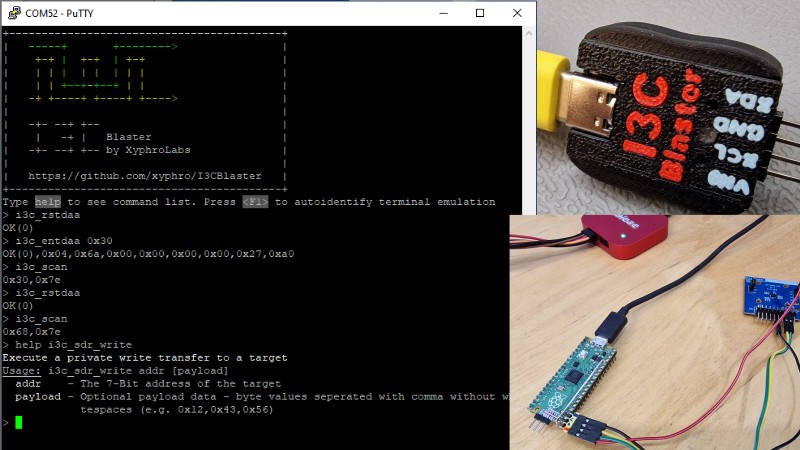
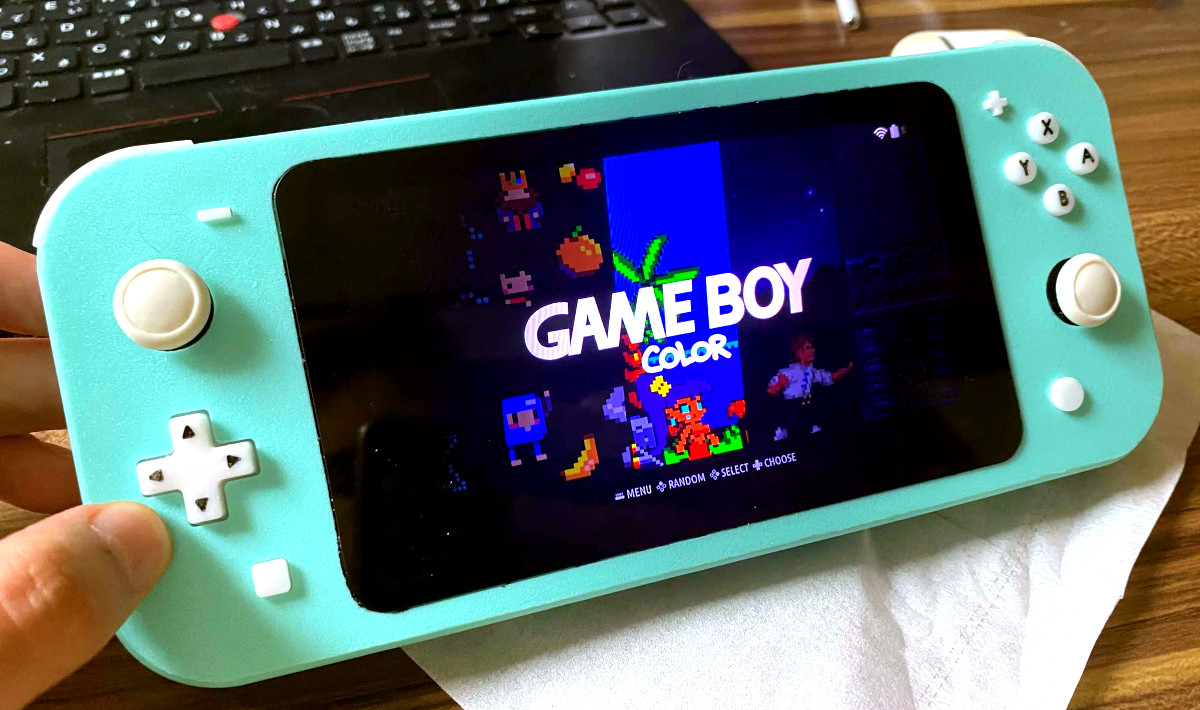
There are experiments with the MIPI OLED displays and the final revision uses an RP2040 as an HID to read button presses and data from the IMU. WiFi 6 and BLE 5.2 are handled by an M2 slot-mounted module that is interfaced using a PCI Express bus which is always tricky when designing your PCBs. The final product looks great and there are a couple of videos that show the device in action. Additionally, the design files and code are available for anyone who fancies building one themselves.

If you like handheld gaming consoles, then have a look at the Intel NUC based Handheld with Steam Deck vibes.

A Look Inside a Modern Mixed Signal Oscilloscope

High-speed bench equipment has become so much more affordable in the last decade that naturally one wonders what has made that possible. A great source of answers is a teardown by users like [kerry wong] who are kind enough to take apart their MSO2304X 300MHz osilloscope for our viewing pleasure.

The posted teardown video shows the guts of the scope without enclosure, heatsinks and shields that reveal a handful of boards that execute the functions nicely. The motherboard uses the Xilinx KINTEX-7 FPGA that is expected to run core processes such as signal processing as well as managing the sample storage on the paired DDR3 memory.

The analog front-end here is a bit of a surprise as it sports TI’s ADC08D1000 ADCs that are capable of 1.3 GSPS but the scope is advertised to be capable of more. The inferred design is that all four ADCs are being operated in an interleaved symphony to achieve 5 GSPS. Testing confirms that each input uses two ADCs at a time and when two or more channels are employed, the reconstruction quality drops.

The input lanes are pretty standard and are equipped with amps and power regulators that are more than up to the task. More TI chips are discovered such as the DAC128S085 that are the key to the analog waveform generator which is a feature commonly found in modern high-end oscilloscopes. On the application processor side, the scope has a Rockchip RK3568 that is responsible for the GUI and other user-level functions.

An interesting point in the video was how lean the construction is as well as the cost. The FPGA, ADCs, and other analog components are estimated to total the sale price of the scope, which means that manufacturer pricing would have to be heavily discounted to grant gross margin on sales. We loved the review of the scope and is the other part of the story.

I3C Bit-banging Fun for the RP2040

img showing terminal and pico

The RP2040 has quickly become a hot favorite with tinkerers and makers since its release in early 2021. This is largely attributed to the low cost, fast GPIOs, and plethora of bus peripherals. [xyphro] has written the I3C Blaster firmware that helps turn the Raspberry Pi Pico into a USB to I3C converter.

The firmware is essentially a bit-bang wrapper and exposes an interactive shell with a generous command set. But it is a lot more than that. [xyphro] has taken the time to dive into the I3C implementation standard and the code is a fairly complex state-machine that is a story on its own.

[xyphro] provides a Python script in case you feel like automating things or drawing up your GUI. And finally, if you are feeling adventurous, the I3C implementation is available for your project tinkering needs.

We loved the fact there is a branch project that lets you extend a Saleae Logic Analyzer to decode I3C and associated protocols by adding a Pico on the cheap. The last update to the project log shows the addition of a MIPI I3C High Data Rate Mode which operates at 25 Mbps which is right up the RP2040s.

[xyphro] gave us the Home Brew Version Of Smart Tweezers a decade ago and we expect there is more to come. If you are interested in reading more about the I3C bus, have a look at I3C — No Typo — Wants To Be Your Serial Bus.

❌