CIS-4 Is a Monkish Clock Inside a Ceiling Lamp
It’s always clock time at Hackaday, and this time we have an interesting hack of a clock by [danjovic]– the CIS4, a Cistercian digital clock.
The Cistertians, in case you weren’t paying close attention to European holy orders during the 13th to 15th centuries were the group of monks you’d most likely have found us in. They were the hackers of the middle ages, establishing monestaries across western Europe that were chock full of hacks– including their own numeral system. Cistercian numerals were much more efficient (in spaces and penstrokes) than the Roman numerals they replaced, and even the “Arabic” numerals that replaced them. A single glyph could record anything from 1 to 9,999. (The Europeans hadn’t yet cottoned on to zero.)

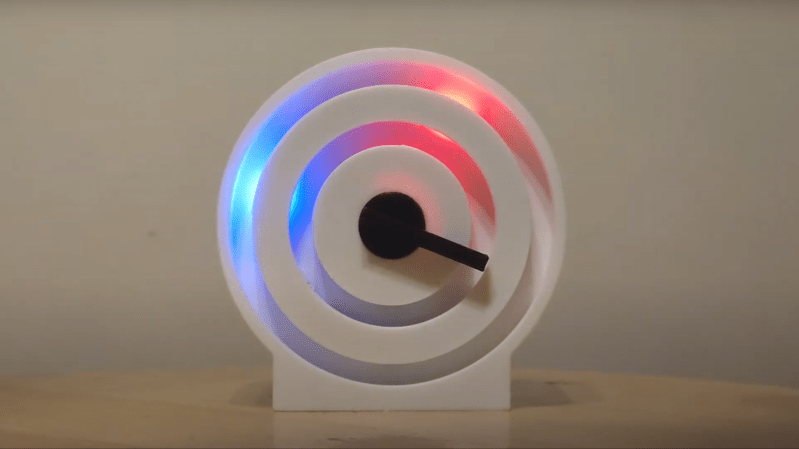
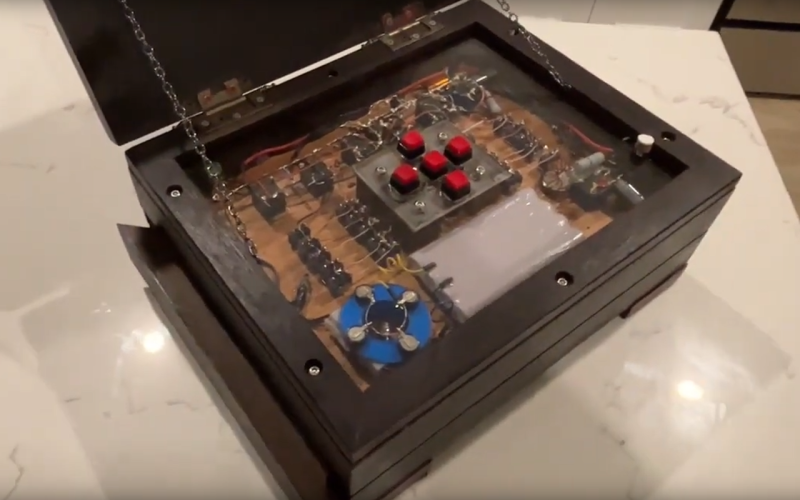
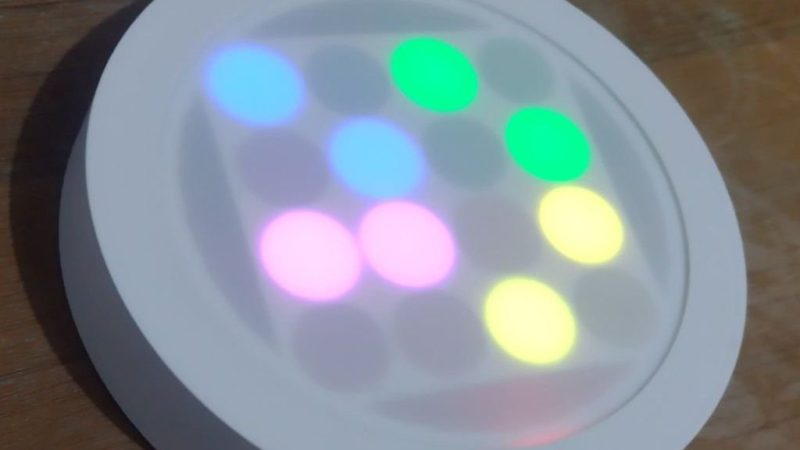
Depending how you wanted to count time, a single glyph could be used; it looks like [danjovic] is using the thousands and hundreds portions of the glyph for hours and the tens and ones for minutes. This is all accomplished with a 4×4 neopixel matrix, run by an Attiny85 Digispark with a DS3231 RTC module keeping time. A slight simplification is required to reduce the glyphs to 4×4, but we don’t think the monks would mind. For those of us who don’t wear tonsures, an easy read mode scrolls the time in Arabic numerals. (Which still aren’t super easy,with only 4×4 LEDs to display them. See the demo video embedded below and try and guess the time.)
One nice quality of life feature is an LDR for ambient light detection, to automatically adjust the neopixels’ brightness. The hackiest part, which we thought was really clever, is the enclosure: it’s a cheap LED ceiling light. This provides a diffuser, housing and mounting hardware with decent design for no effort. A 3D-printed mask sits between the diffuser and the LEDs and doubles as a PCB holder. All very elegant.
[danjovic] did include a buzzer in the design, but does say if its been programed to sound off for matins, nones and vespers. In any case, at least it’s easier to read than his binary-coded-octal clock that we featured a few years back. This isn’t our first look at this number system,so evidently people can read them with practice.
Have you made or seen a cool clock? Send us a tip. We always have time for clocks.