DIY Driving Simulator Pedals
In the driving simulator community, setups can quickly grow ever more complicated and expensive, all in the quest for fidelity. For [CNCDan], rather than buy pedals off the shelf, he opted to build his own.
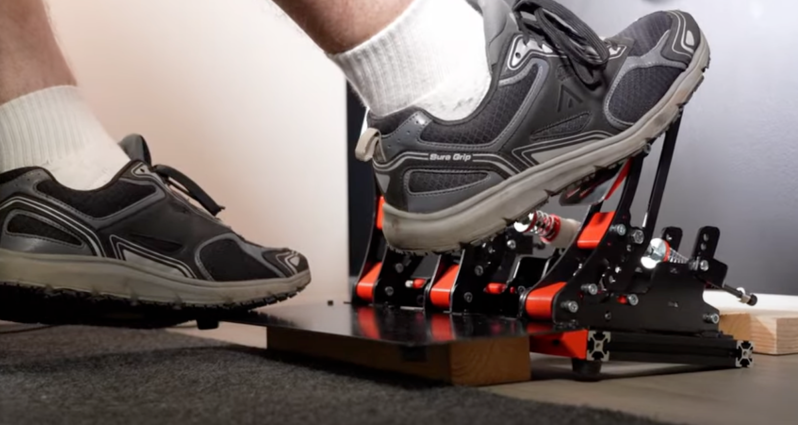
[Dan] has been using some commercial pedals alongside his own DIY steering wheel and the experience is rather lackluster in comparison. The build starts with some custom brackets. To save on cost, they are flat with tabs to let you know where to bend it in a vise. Additionally, rather than three sets of unique brackets, [Dan] made them all the same to save on cost. The clutch and throttle are a simple hall effect sensor with a spring to provide feedback. However, each bracket provides a set of spring mounting holes to adjust the curve. Change up the angle of the spring and you have a different curve. The brake pedal is different as rather than measure position, it measures force. A load cell is perfect for this. The HX711 load cell sensor board that [Dan] bought was only polling at 10hz. Lifting a pin from ground and bodging it to VDD puts the chip in 80hz, which is much more usable for a driving sim setup.
[Dan] also cleverly uses a 3d printed bushing without any walls as resistance for the pedal. Since the bushing is just the infill, the bushing stiffness is controlled by the infill percentage. Aluminum extrusion forms the base so [Dan] can adjust the exact pedal positions. To finish it off, a bog standard Arduino communicates to the PC as a game controller.
The project is on GitHub. Perhaps the next version will have active feedback, like this DIY pedal setup.