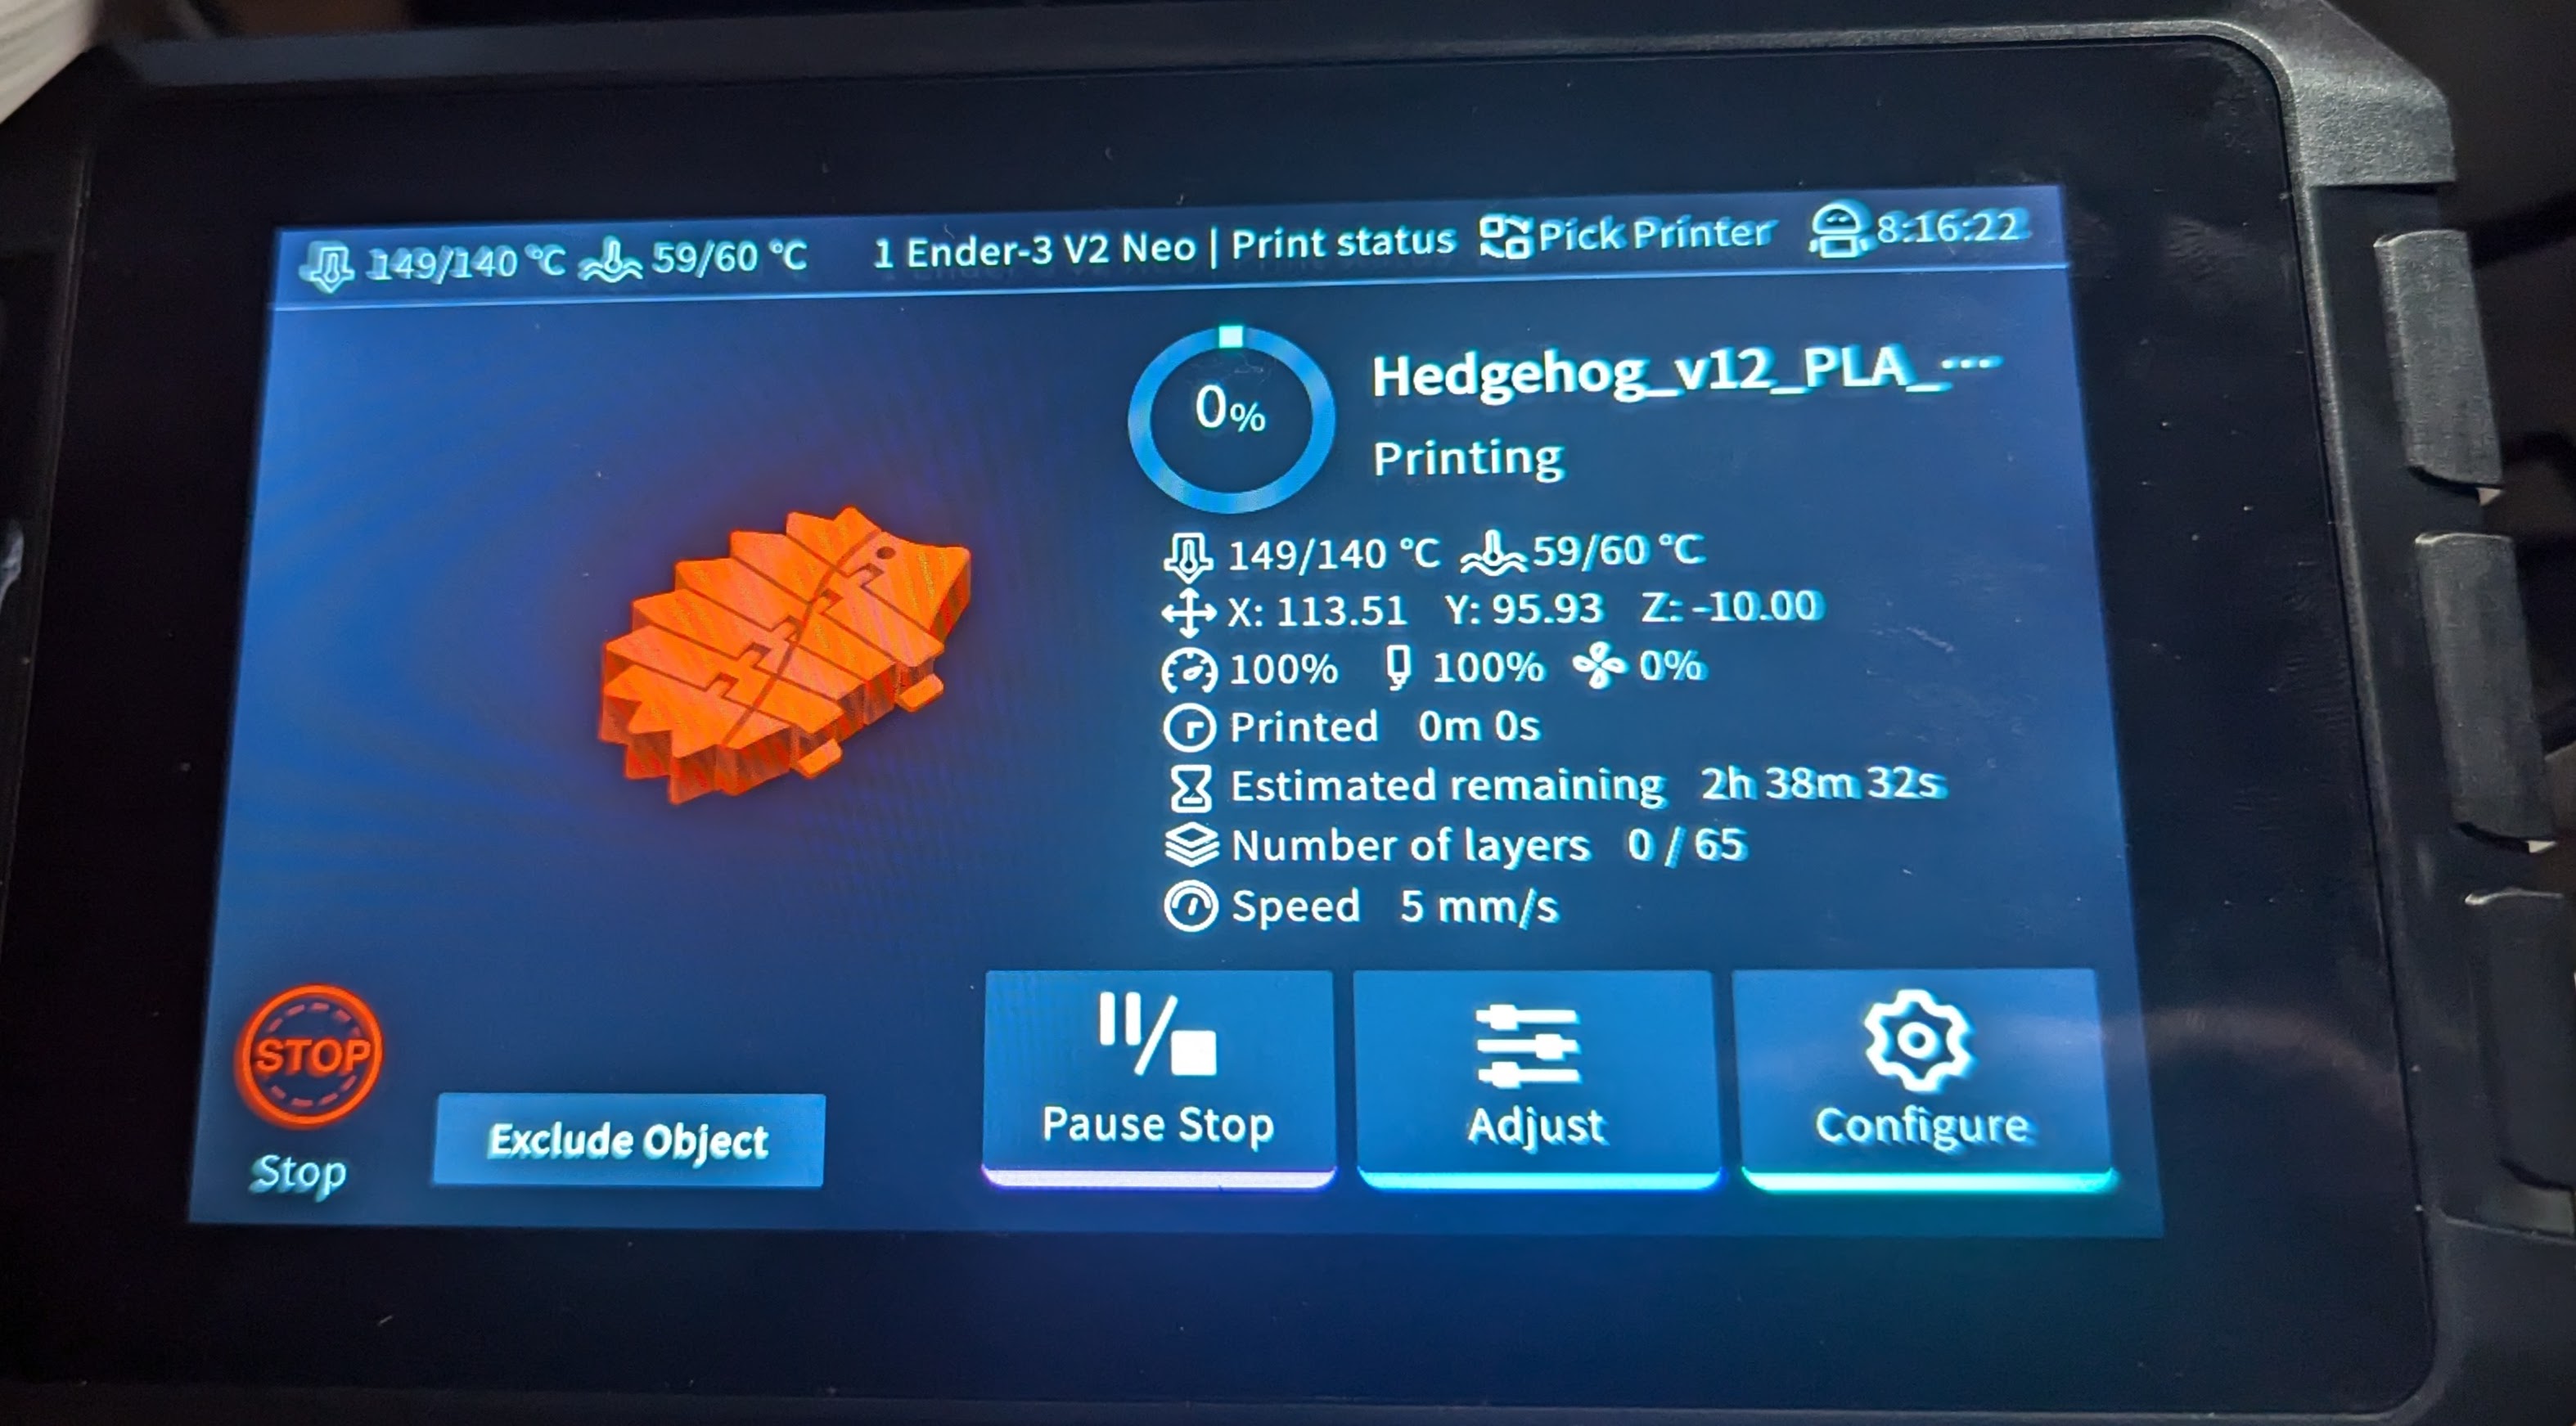
3D Printering: Switch and Klip(per)
Last time I tried to convince you that, if you haven’t already, you should try running your 3D printer with Klipper. There are several ways to actually make it work.
The first thing you need is something to run the Klipper host. Most people use a Raspberry Pi and if you already have one that runs OctoPrint, for example, you might well use it. Just tuck your SD card away in case you give up and install a fresh Linux system on a new card.
However, a Pi isn’t your only option. You should be able to make it work on nearly anything that runs Linux. We’ve even seen it running on Windows under WSL. If you have an old laptop that can run Linux, that would work, too. We’ve even heard it works on a Chromebook.
The other option is to get a “pad.” Several vendors make touchscreens with some Linux single-board computer bundled together with Klipper preinstalled. For example, there is the Creality Sonic Pad, along with similar devices from other 3D printing companies.
If you decide to go that route, you might want to make sure it is easy to install your own software easily. Some pads, like the Creality unit, are notorious for having so much customization that they don’t lend themselves to upgrades unless they come from the manufacturer. In some cases, you can wipe out the stock firmware and install a normal operating system, but at that point, you could probably just buy a Pi and a touchscreen, right?
Installation
If you use something like a pad, it probably has a menu option to provide prebuilt firmware for your printer. Typically, you let it save the code to an SD card or a USB stick and then you are expected to flash it to your printer which, of course, depends on what kind of printer you have.
If you are rolling your own, you use a menu configuration program something like building a Linux kernel. If you have a pre-built configuration file, it will probably tell you in its comments what things you should pick. You need to know, for example, the type of CPU your board has, the bootloader offset, and if you are connecting via USB or serial. You can find details on the Klipper project pages.
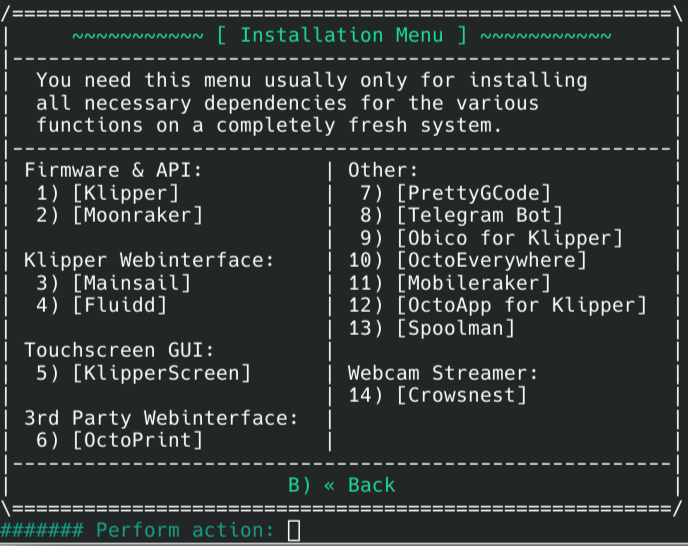
Installing the Linux side is easy because there is a nice script called KIHUH. The easiest thing to do is clone the Git repository and run it. From there, you can install Klipper, Moonraker, Fluidd, Mainsail, and some other things, too.
The real trick isn’t installing the software. The challenge is creating a proper configuration file for your printer. If you have a totally stock and popular printer, you’ll probably be in luck. But, how many of us can say that?
Start with the GitHub list to see if your printer or board is there. Even if it isn’t an exact match for your hardware, it will give you a start. For example, my custom printer is a Fysetc Spider, but the canned configuration is for a core XY machine, which means I have to make changes.
Even if you get a pad that claims to be “plug and play,” don’t count on it. For example, a Creality Sonic Pad’s instructions for installing with a Creality Ender 3 first asks you to take the printer apart to determine the type of motherboard you have. That’s not really plug and play! Any deviation from the stock machine is likely to require you to change the default profile.
Ch…Ch…Ch…Changes
In addition to just setting things up to match my exact hardware, I also needed to adjust the extruder step count. That has to be simple, right? Most firmware requires you to plug in the number of steps per millimeter of filament.
Klipper, on the other hand, wants to know how many millimeters extrude from a full rotation of the stepper. If you know how many steps (and microsteps) your printer uses, you can easily calculate either number from the other. For example, if you have 200 steps per rotation and 16 microsteps, that’s 3200 steps total. If your current steps per millimeter is 100, then your Klipper “rotation distance” is 3200/100=32.
Configuration Example
I had another major change to make. My printers have a non-standard filament sensor that detects the filament moving. That way, it can detect not only broken filaments but jammed filaments, too.
To install it, I had to add a few lines to my printer.cfg file and restart Klipper. Since I have more than one printer with the same sensor, I put all the lines in a single file and then included it in each printer. So the printer.cfg change was very simple:
[include sfs.cfg]
Then the real work is in sfs.cfg:
[filament_motion_sensor SFS_T0]
detection_length: 10.00
extruder: extruder
switch_pin: ^PA4
pause_on_runout: True
event_delay: 3.0
pause_delay: 0.5
runout_gcode:
  M117 Runout Detected!

[delayed_gcode DISABLEFILAMENTSENSOR]
initial_duration: 1
gcode:
 SET_FILAMENT_SENSOR SENSOR=SFS_T0 ENABLE=0

[gcode_macro SFS_ENABLE] ; Add this to PRINT_START
description: Enable smart filament sensor
gcode:
  M117 ENABLING the Smart Filament Sensor
  G92 E0
  SET_FILAMENT_SENSOR SENSOR=SFS_T0 ENABLE=1

[gcode_macro SFS_DISABLE] ; Add this to PRINT_END and PRINT_CANCEL
description: Disable smart filament sensor
gcode:
  M117 DISABLING the Smart Filament Sensor
  G92 E0
  SET_FILAMENT_SENSOR SENSOR=SFS_T0 ENABLE=0
This defines a few macros you can use elsewhere. Like Python, the indentation matters. You can organize your files using [include], and that’s especially useful if you have multiple printers that can share files.
Reference
So, how do you know what’s available? The Klipper reference. It will show you all the configuration sections you can use and what can possibly go in them. Don’t forget that some features — like print status notifications — will be in the Moonraker configuration which is a separate document.
Since the system is in Python, you can hack on it to your heart’s content. Just back up first. For example, you can add some custom Python scripts in the klipper/extras directory, like the one that can run arbitrary system commands from G-code.
Tinkering is what most of us like the best, and there’s plenty of opportunity to tinker with here. Klipper is also a good way to put new life in a very old printer since what runs on the printer is very simple, and all the heavy lifting is done elsewhere.
Klipper can easily do adaptive bed leveling, for example. If you can work in Python, it is also easy to experiment with things like exotic sensors.