A CRT Display for Retro Weather Forecasting
It would be hard to find any electronics still in production which use CRT displays, but for some inscrutable reason it’s easy to find cheap 4-inch CRTs on AliExpress. Not that we’re complaining, of course. Especially when they get picked up for projects like this Retro CRT Weather Display from [Conrad Farnsworth], which recreates the interface of The Weather Channel’s WeatherStar 4000+ in a suitably 90s-styled format.
The CRT itself takes up most of the space in the enclosure, with the control electronics situated in the base behind the display driver. A Raspberry Pi Zero W provides the necessary processing power, and connects to the CRT through its composite video output.
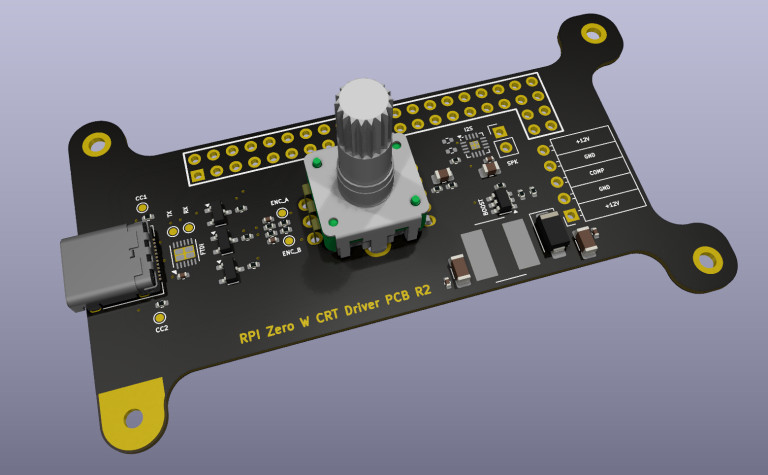 A custom PCB plugs into the GPIO header on the Raspberry Pi and provides some additional features, such as a rotary encoder for volume and brightness display, a control button, a serial UART interface, and a speaker driver. The design still has one or two caveats: it’s designed to powered by USB, but [Conrad] notes that it draws more current than USB 2.0 can provide, though USB-C should be able to keep up.
On the software side, a Python program displays a cycle of three slides: local weather, regional weather, and a radar display. For the local and regional weather display graphics, [Conrad] created a static background image containing most of the graphics, and the program only generated the dynamic components. For the radar display, the regional map’s outlines come from Natural Earth, and a Python program overlays radar data on them.
We’ve seen other attempts at recreating the unique style of the WeatherStar system, but nothing quite beats the real thing.