At this point in the tech dystopia cycle, it’s no surprise that the initial purchase price of a piece of technology is likely not the last payment you’ll make. Almost everything these days needs an ongoing subscription to do whatever you paid for it to do in the first place. It’s ridiculous, especially when all you want to do is charge your electric motorcycle with electricity you already pay for; why in the world would you need a subscription for that?
That was [Maarten]’s question when he picked up a used EVBox wall mount charger, which refused to charge his bike without signing up for a subscription. True, the subscription gave access to all kinds of gee-whiz features, none of which were necessary for the job of topping off the bike’s battery. A teardown revealed a well-built device with separate modules for mains supply and battery charging, plus a communications module with a cellular modem, obviously the bit that’s phoning home and keeping the charger from working without the subscription.

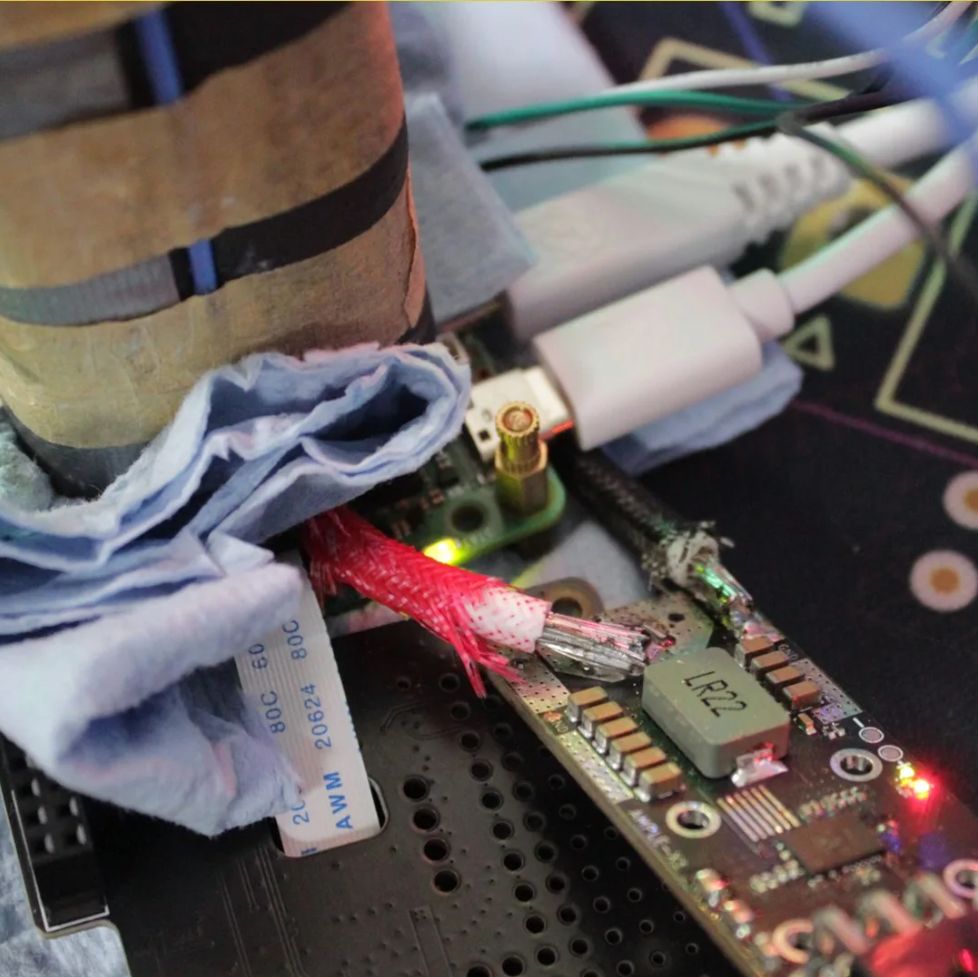
After some time going down dead ends and a futile search for documentation, [Maarten] decided to snoop into the conversation between the charger boards and the comms board, reasonably assuming that if he knew what they were talking about, he’d be able to mimic the commands that make the charger go. He managed to do exactly that, reverse engineering enough of the protocol to do a simple replay attack using a Raspberry Pi. That let him use the charger. Problem solved, right?
Not so fast — this is a “Fail of the Week,” after all. This is where [Maarten] should have called it a day, but he decided to keep poking enough to snatch defeat from the jaws of victory. He discovered that the charging module’s firmware was only doing limited validation of messages coming from the comms module, and since he’d only found fourteen of the commands in the protocol, he thought he’d take advantage of the firmware’s openness to explore all 256 possible commands. Scanning through all the commands proved fatal to the charger, though, bricking the poor thing right after he’d figured everything out. Ouch!
To his credit, [Maarten] was only trying to be complete in his exploration of the protocol, and his intention to make it easier for the next hacker is laudable in the extreme. That he took it a byte too far is unfortunate, but such is the price we sometimes pay for progress. Everything he did is thoroughly documented, so if you’ve got one of these chargers you’ve got all the tools needed to make it a standalone. Just make sure you know when to stop.