LED Probe: A Smart, Simple Solution for Testing LEDs
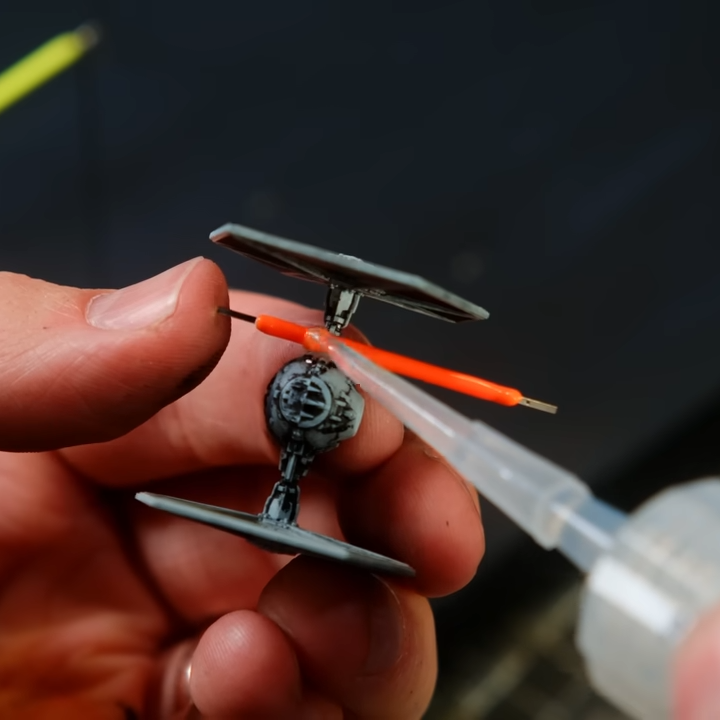
If you’ve worked on a project with small LEDs, you know the frustration of determining their polarity. This ingenious LED Probe from [David] packs a lot of useful features into a simple, easy-to-implement circuit.
Most multimeters have a diode test function that can be used to check LEDs; however, this goes a step further. Not only will the probe light up an LED, it will light up no matter which side of the LED the leads are touching. A Red/Green LED on the probe will indicate if the probe tip is on the anode or cathode.
The probe is powered by a single CR2032 battery, and you may notice there’s no on/off switch. That’s because the probe enters a very low-current sleep mode between uses. The testing intelligence is handled by either an ATtiny85 or, in the newest version, an ATtiny202, though the basic concept and design are compatible with several other chips. All the design files for the PCB, the ATtiny code, a parts list, and a detailed explanation of how it works are available on [David]’s site, so be sure to check them out. Once you build one of these probes, you’ll want something to test it on, so explore some of the LED projects we’ve featured in the past.